

Cottage bedroom progress
This weekend I continued work on ripping out the old floor tiles in 1 of the cottage bedrooms. My goal was to get all the tiles off the floor and then start tackling the cracks in the walls. During the week I started thinking about what to use for paint and like anything with my old house, I started going down different rabbit holes rather than just deciding to go to Home Depot to pick up a can of Behr.
One of the things I love about old homes and real materials is the texture and depth of the surfaces. When I see a house covered in vinyl or even the shingles that are made to look like wood, but are really synthetic, it always looks fake. Inside the cottage they painted the walls with a latex paint and then the molding has a thick coating of a gloss paint. Both of these coatings seem plasticy and I know that latex paint is not period appropriate since it was invented in the 1930s, so I start looking into alternatives.
Modern latex paint is designed to provide a smooth coverage which is fine, but I want something that has a bit more complexity to it. I was thinking of trying to distress the latex paint, but then I started looking at what type of paints would exist before latex. I came across milk paint, which seems to have been the paint used before latex dominated the scene. It’s similar to plaster in that it was mixed on the job site, is all natural, and provides a more human finish in that there are imperfections in the coverage which gives a more mottled or complex appearance.
I contacted the people over at the original Milk Paint company and they immediately got back to me and sent a free sample. Originally I was going to test out the paint this weekend, but then I started doing some prep on the walls to scrape away the flaking paint near the cracks in the plaster and the top coat of paint flaked away to show another layer of chalky paint. Looks like there’s a layer of calcimine paint under the latex. Actually looks like the same color of paint found in the main house. I go back and read the documentation on the milk paint and it specifically calls out calcimine as an issue that needs to be removed before trying to apply milk paint. Uh oh, looks like I’m in for a bit more work since I now need to strip and clean off all of the existing wall paint.

Brown is latex and blue is calcimine.
I put that on the backburner and go back to removing floor tiles. This time I try using the Speedheater Cobra to soften them up before scraping away. It’s decent process, but is still tedious and after a few hours most are gone. As I’m making my way around the areas near the baseboards, I accidentally heat up the paint on the baseboard where it starts to bubble. Since it bubbled, I give it a scrape and off comes the white paint exposing the original stained wood underneath. Ugh, I can’t resist leaving that terrible thick layer of white paint on the baseboards, so after the last of the floor tiles are removed, I decide to start stripping the baseboards - adding another level or work to the job. Since the room is small and I think I’ve gotten pretty good at stripping old paint, I finish the first pass of stripping during the weekend. Next up I’ll need to apply stripper to the baseboards and get all of the little pieces of white paint out from the nooks and crannies of the baseboard.
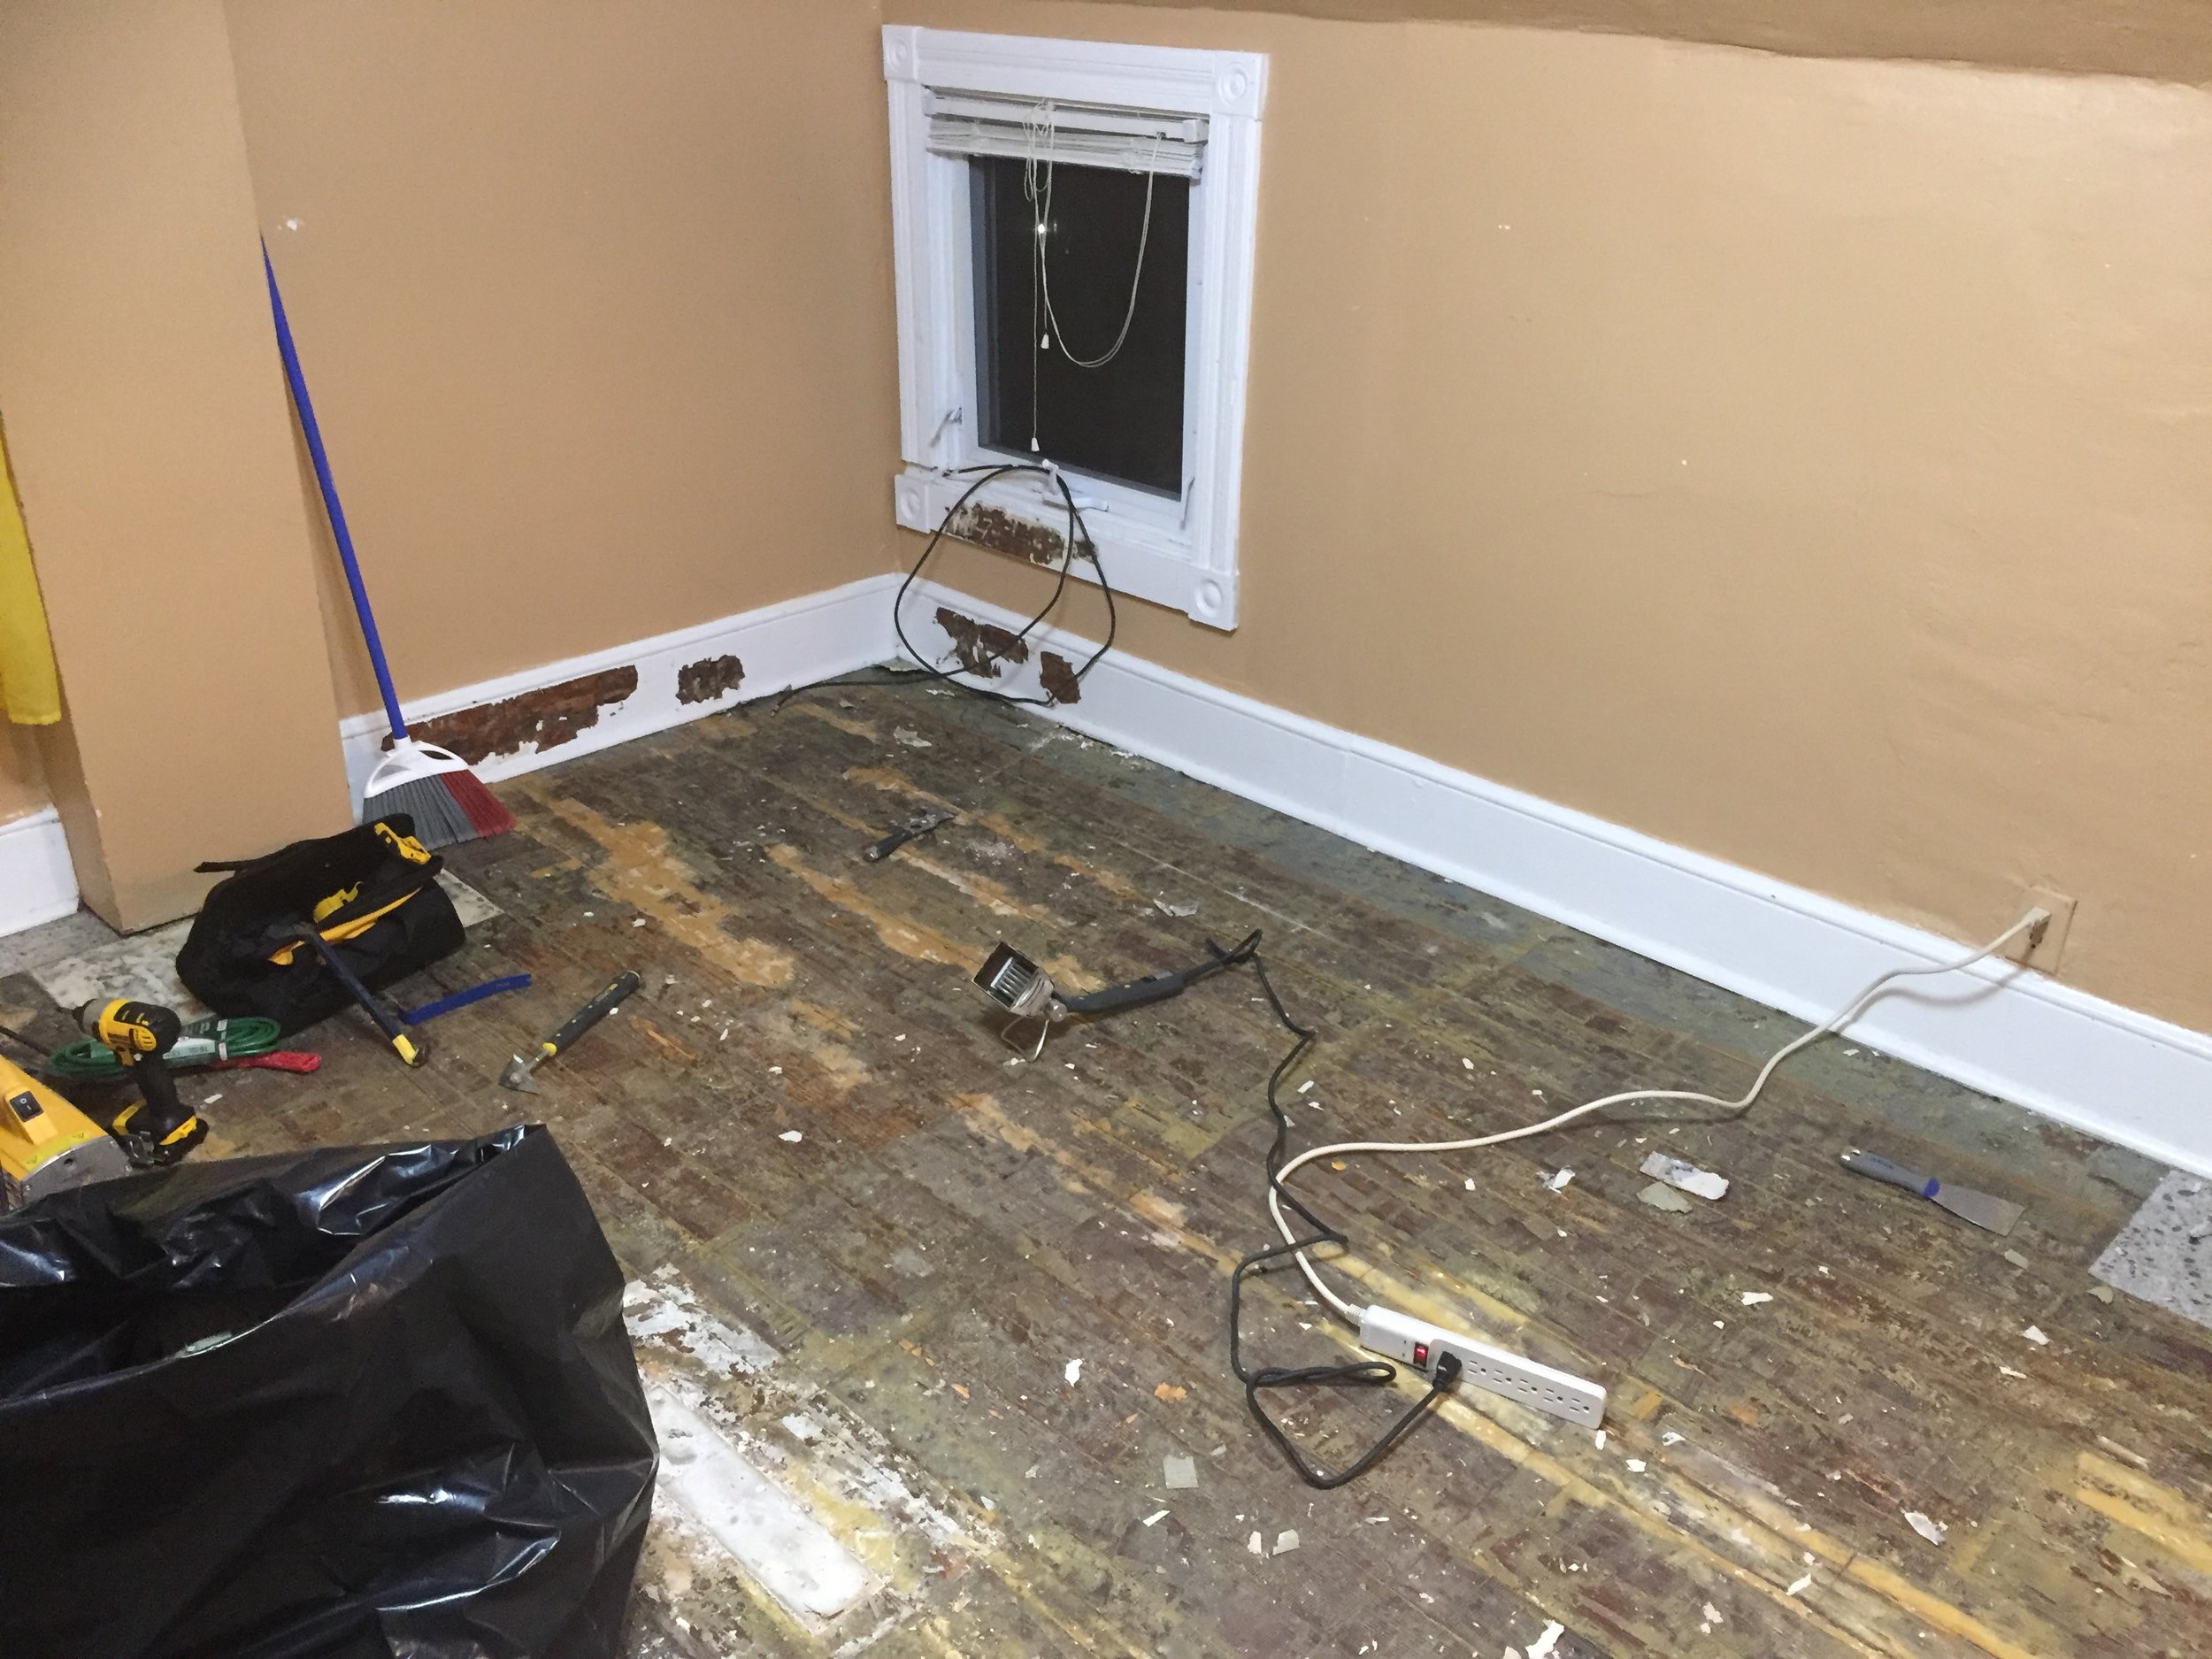
Floor tiles up and starting to strip the baseboards.
I also notice that the quarter round at the bottom of the baseboards isn’t original so I’ll plan to remove that since it’s just primed white wood and not able to strip.

First pass of stripping the baseboards.


