

2nd coat of plaster and starting the ceiling
This weekend I returned to put on a 2nd coat of plaster and start installing planks on the ceiling. With the plaster I’m going to stop at the 2nd coat rather than adding a 3rd veneer coat. From reading and my plaster lesson, stopping at a 2nd coat is a viable technique for common rooms. The 2nd coat was referred to as a wallpaper finish where the wall would be smooth but not the burnished, glassy smooth level of a 3rd veneer coat.
For the 2nd coat I follow the same technique, and luckily I end up with a bit more plaster in the bucket at the end this time. That’s good because I think on my first coat, I probably put it on a bit thick so I’m glad that I was able to spread out the plaster more on the 2nd coat. After about 20 minutes I go back over the plaster with water and a trowel to burnish the surface. I tried using both a spray bottle and a wet brush to apply the water, but wasn’t able to figure out which one worked better. I saw the wet brush technique detailed on the great Youtube channel See Jane Drill. The wet troweling part is really magical because when it works, it change the character of the plaster into a smooth professional finish. Sadly I wasn’t able to nail that 100% in the room, but I think it’s close enough.

After the 2nd coat of plaster.
There’s parts of the room that have a skip trowel look to the plaster so for those I try to emulate that look rather than doing the burnishing.

Another view of the 2nd coat.
After I finish up the plaster, I spend some time experimenting with installing the shiplap we stained during the previous weekend. We decide that since the boards are 6 feet long and the ceiling is just under 6 feet wide, it may be best to just keep the boards full rather than chopping up into smaller pieces. I try to jam the plank under the existing crown molding, but it won’t fit under one side of the ceiling. So I need to rip that off to attach the boards which means I need to add installing new crown molding to my list.
The ceiling width is a few inches under 6 foot, so I need to chop off a little piece of each plank. Originally I bought some square head nails to install the planks, hoping for a traditional look. But since I’m installing by myself I end up buying a nail gun to hang the boards. The installation goes well with the nail gun, but it’s hard to get each board to line up exactly tight. Originally I was thinking I’d need to use a nickel to space out the boards. I read that you don’t want the boards rammed tight up against each other because it’s good to have some gaps to allow for wood swelling due to moisture. In a coastal area it seems like a good idea to account for that variance, but as I start installing the boards, I find that I don’t need to worry about nickel spacing. There’s so much natural variance along the length of the board that it’s impossible to lock them snugly up against each other.
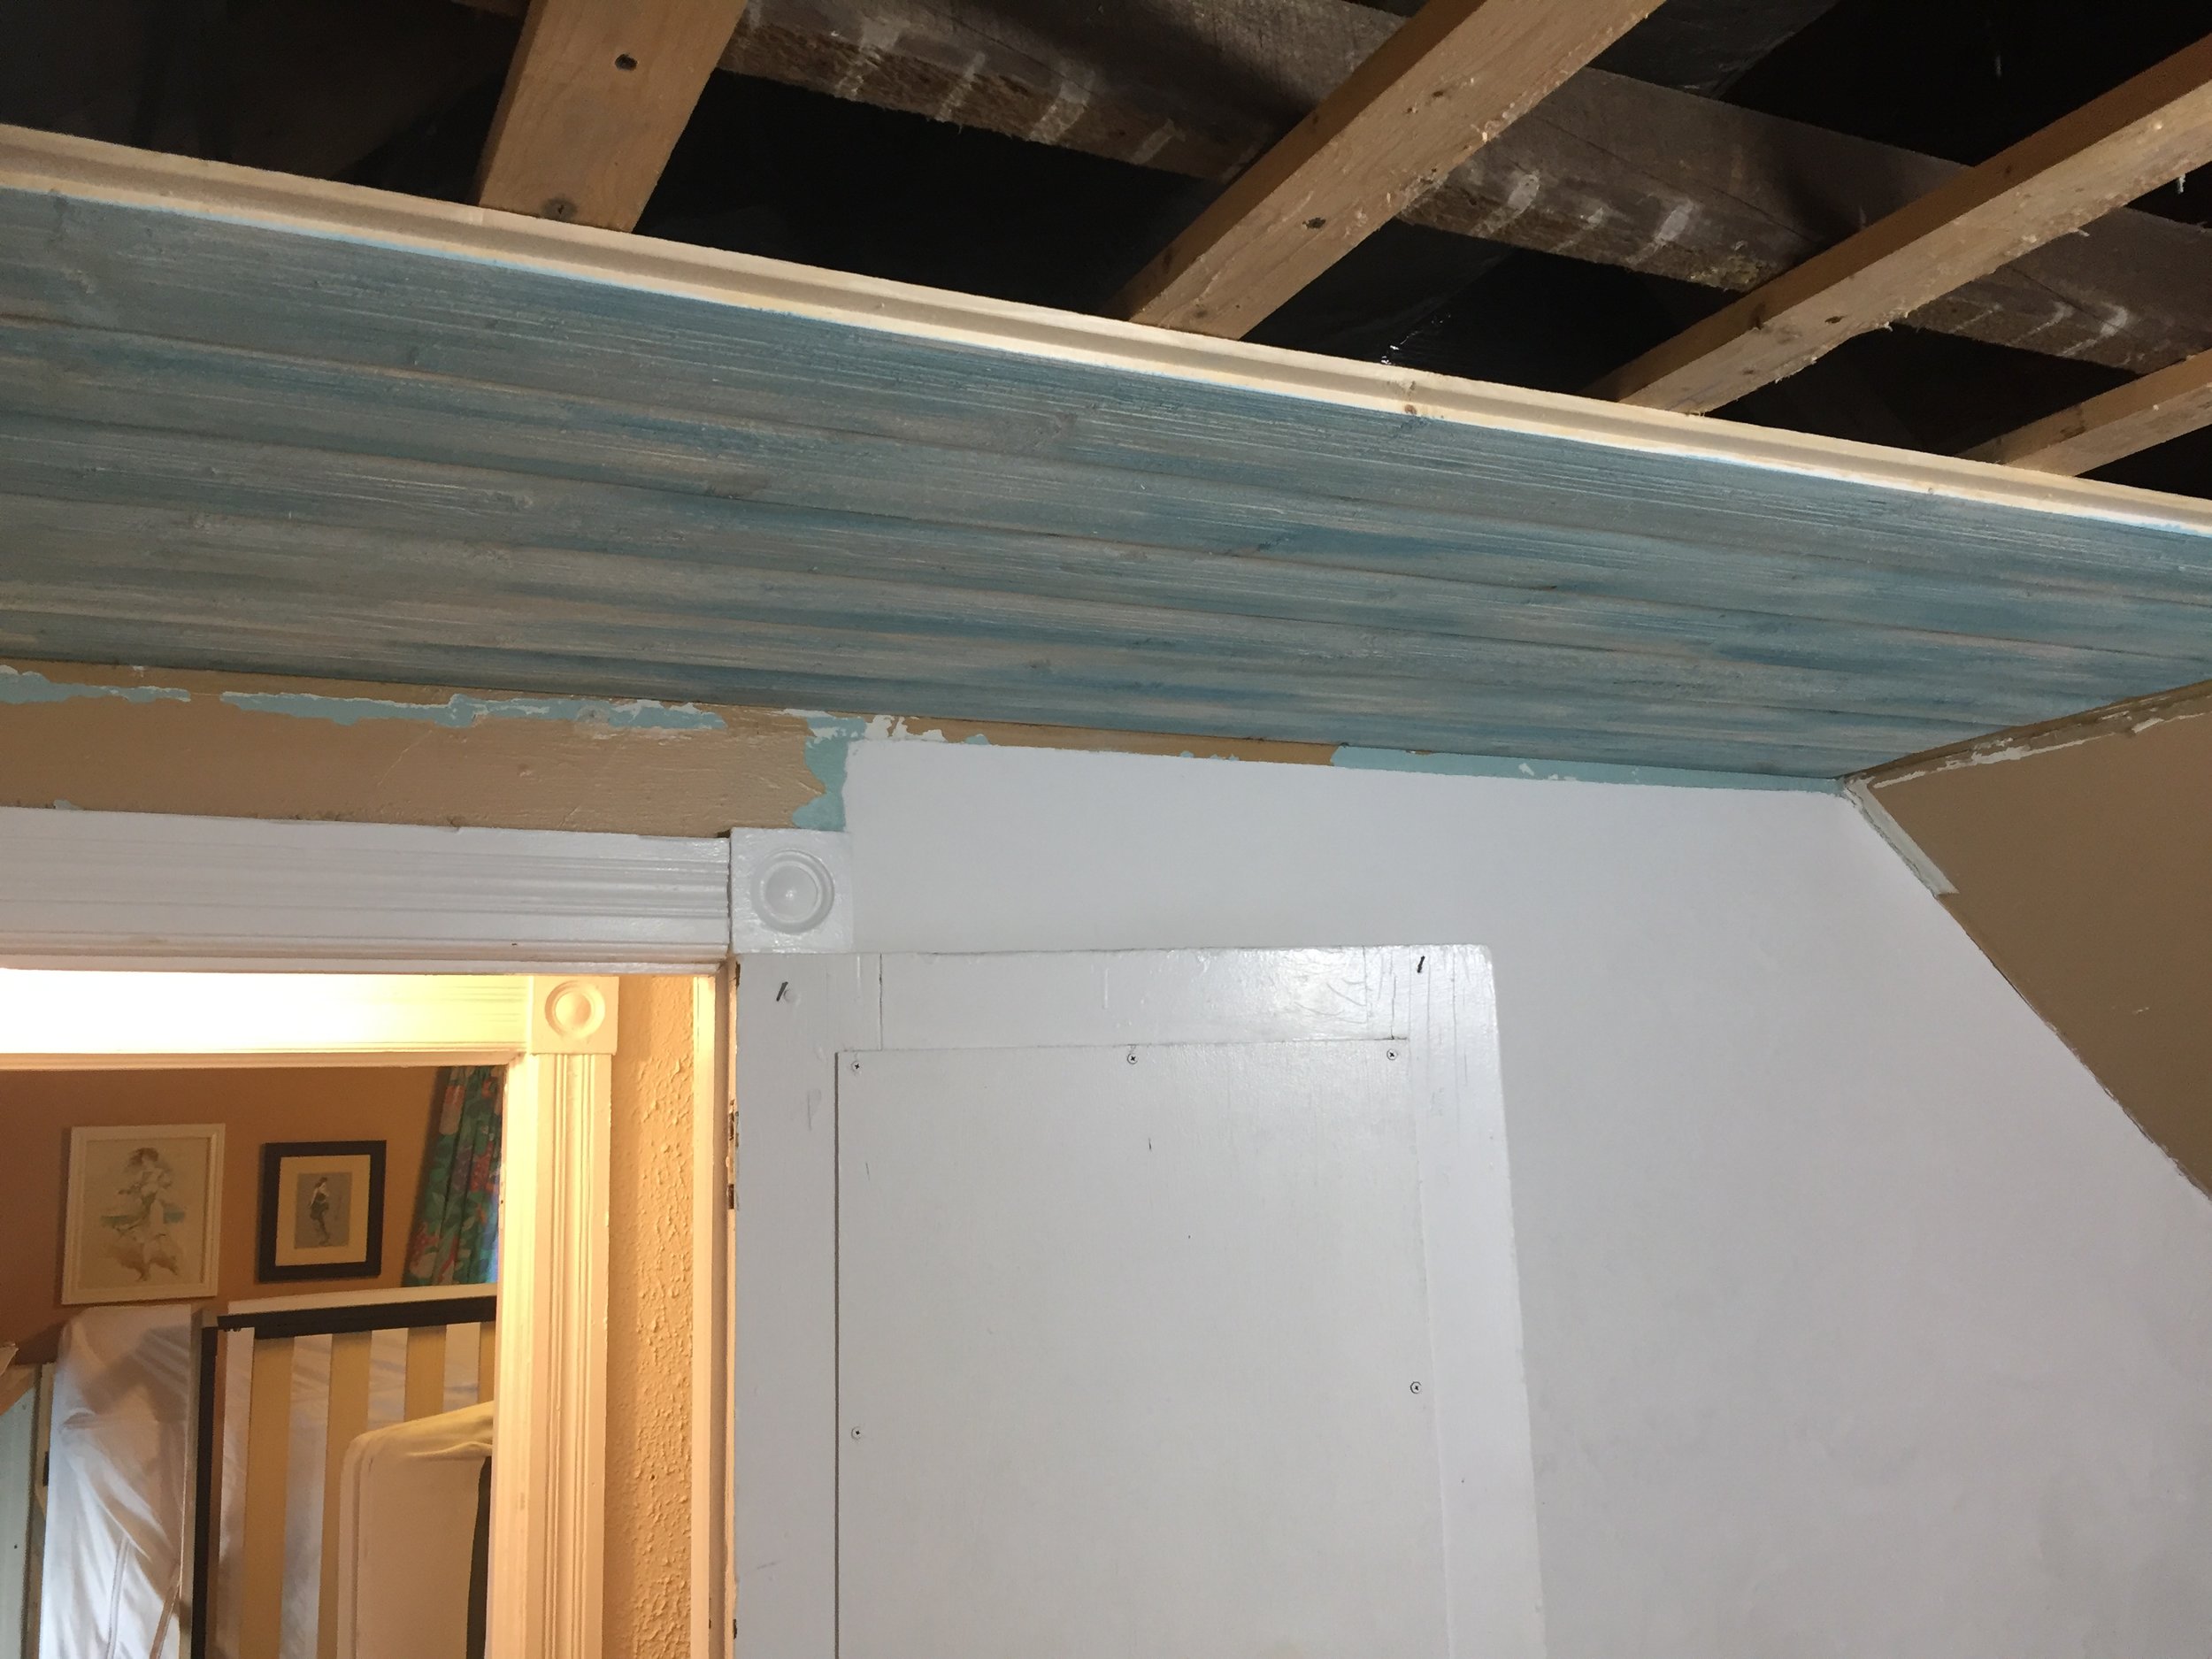
Starting the ceiling planks install.
I install a few boards before calling it a day and then use the installed ceiling to pick out some paint colors for an upcoming weekend.


