

Floors finished
Over the week, the flooring contractor finished the work on the bedroom floor. When I came down Friday, he put the last finishing coat on the floor and that required about a day to dry so I didn’t get too much done with the work in the room. I did buy some Annie Sloan chalk paint and start painting the furniture that will be moved back into the room. There’s 4 pieces of wood furniture that are fine but are a little beat up from wear and tear. Rather than buying new pieces, I wanted to see if I could fix them up with new paint.
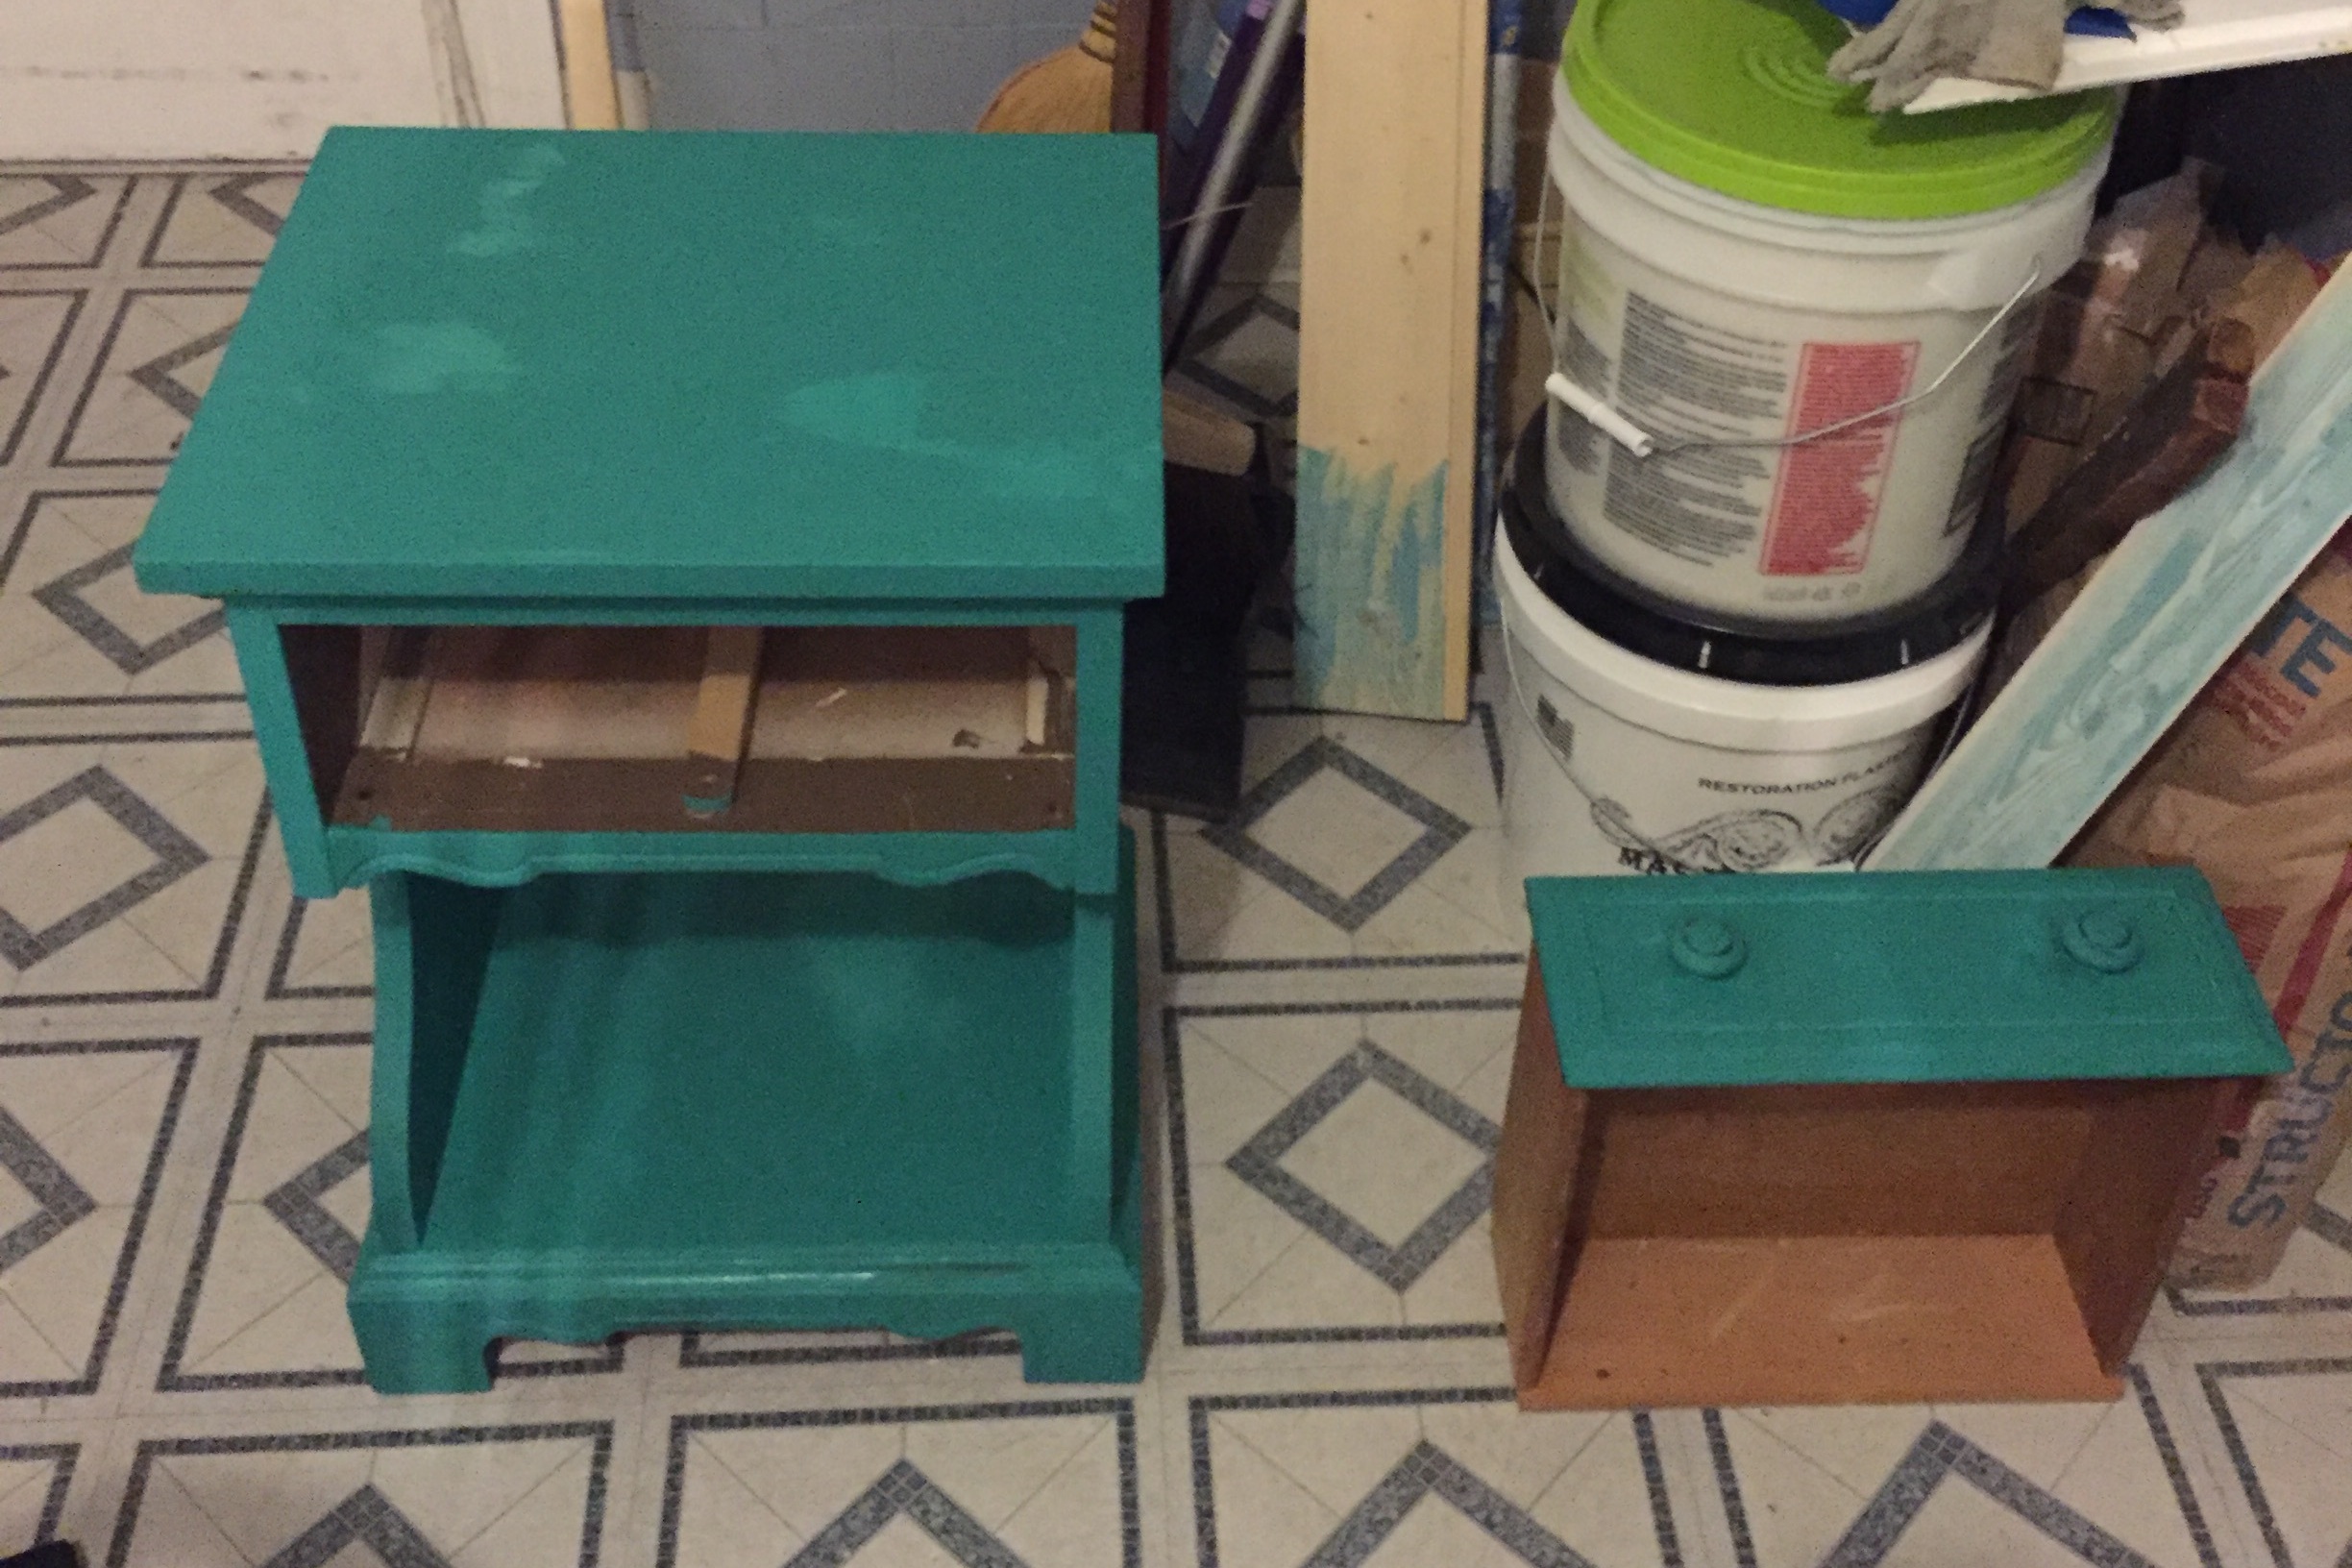
I decided to go with chalk paint since it requires little prep and seems idiot-proof. Annie Sloan seems to be the original player in this market, and now the big box stores have also rolled out their chalk paint versions. I end up sticking with Annie Sloan since her stuff is made in the USA and I assume she’s not the corporate juggernut that Home Depot is. Her stuff is sold through smaller brokers so we drive up to an antique store that carries her paint. It’s nice because you can talk directly with the owner of the shop and they had some pieces in their shop that were painted so you can see how it looks on actual furniture. We pick up the paint and a black finishing wax which should give the piece the trendy distressed look. I didn’t get to wax part, but the 2 coats of paint seem to go on with no issues.

Starting point with a bit dinged and nicked up paint job.
1st coat drying
Back to the floors…I didn’t want to take on the flooring work myself so I went with a flooring contractor. The main reason was that most floor refinishing relies on a sander/grinder. I’ve read some articles that said it’s possible to refinish using chemicals, but with the amount of glue on my floor, that seemed like an unlikely way to go. Using a sander would require renting one. Once I rented, I wouldn’t have a floor to test on so would be grinding the floor on my first shot which could cause permanent damage to the wood. There’s also some repairs needed which also seem difficult for a first-timer to do. Since the floor is is tongue and groove, it’s not easy to just pop in a new floor board, and as I found out, not even other flooring contractors wanted to do repairs.
I started by contacting a few contractors to get some estimates to compare. Things look initially grim because either the contractors express concern about repairing the boards and then slow roll me with responding to emails into to some outright rejecting the job due to the amount of glue on the floors. I keep looking and end up finding a craftsman in the Ocean City area who agrees to take on the job. I use the word craftsman because it becomes apparent that there are definitely 2 classes of contractors I’m finding. The first class is someone who comes out of a Home Depot mindset where the job needs to adhere to all standard dimensions, styles, and materials. This kind of work is not about problem solving or crafting a solution for the building, but rather following a checklist of steps. For flooring it would be: 1. Run sander over the floors. 2. Stain the floors. 3. Apply 4 coats of polyurethane. If things come up that don’t apply to the checklist, then either give up (“Put down an area rug and call it the day” was one piece of advice I received) or move the building to follow the Home Depot standards (putting down a laminate hardwood flooring product over the original pine for example).

This is what we’re starting with. Lots of glue on the floor and the white spot is a repair that was done with plywood.
The other class is a craftsman that values the work of the past, values their own work and provides solutions that are in harmony with the existing building. The flooring craftsman I found was interested in bringing back the floors. We discussed options for the refinish and decided to not apply any stain and let the natural wood do its thing. Also, we went with an oil finish instead of polyurethane because I was leaning towards a more matte and traditional look (although the look he got with poly on his sample board was very close to oil).

Before

After
During the week, the floors were redone and when I came down on the weekend, I was shocked about how great they looked. With the ceiling, walls, trim and now the floors all redone, it was amazing to see the entire room starting to coalesce into a unified vision.

Beautiful


