Laying Tile
The only focus for this visit is to tile the floor. We have the dry layout in place and now we will pull up sections, put down thinset and then reinstall the tile for real. I start by mixing up a portion of thinset and we start laying the tile near the toilet flange which is where we have the most annoying parts to deal with since we have a lot of cut tiles.
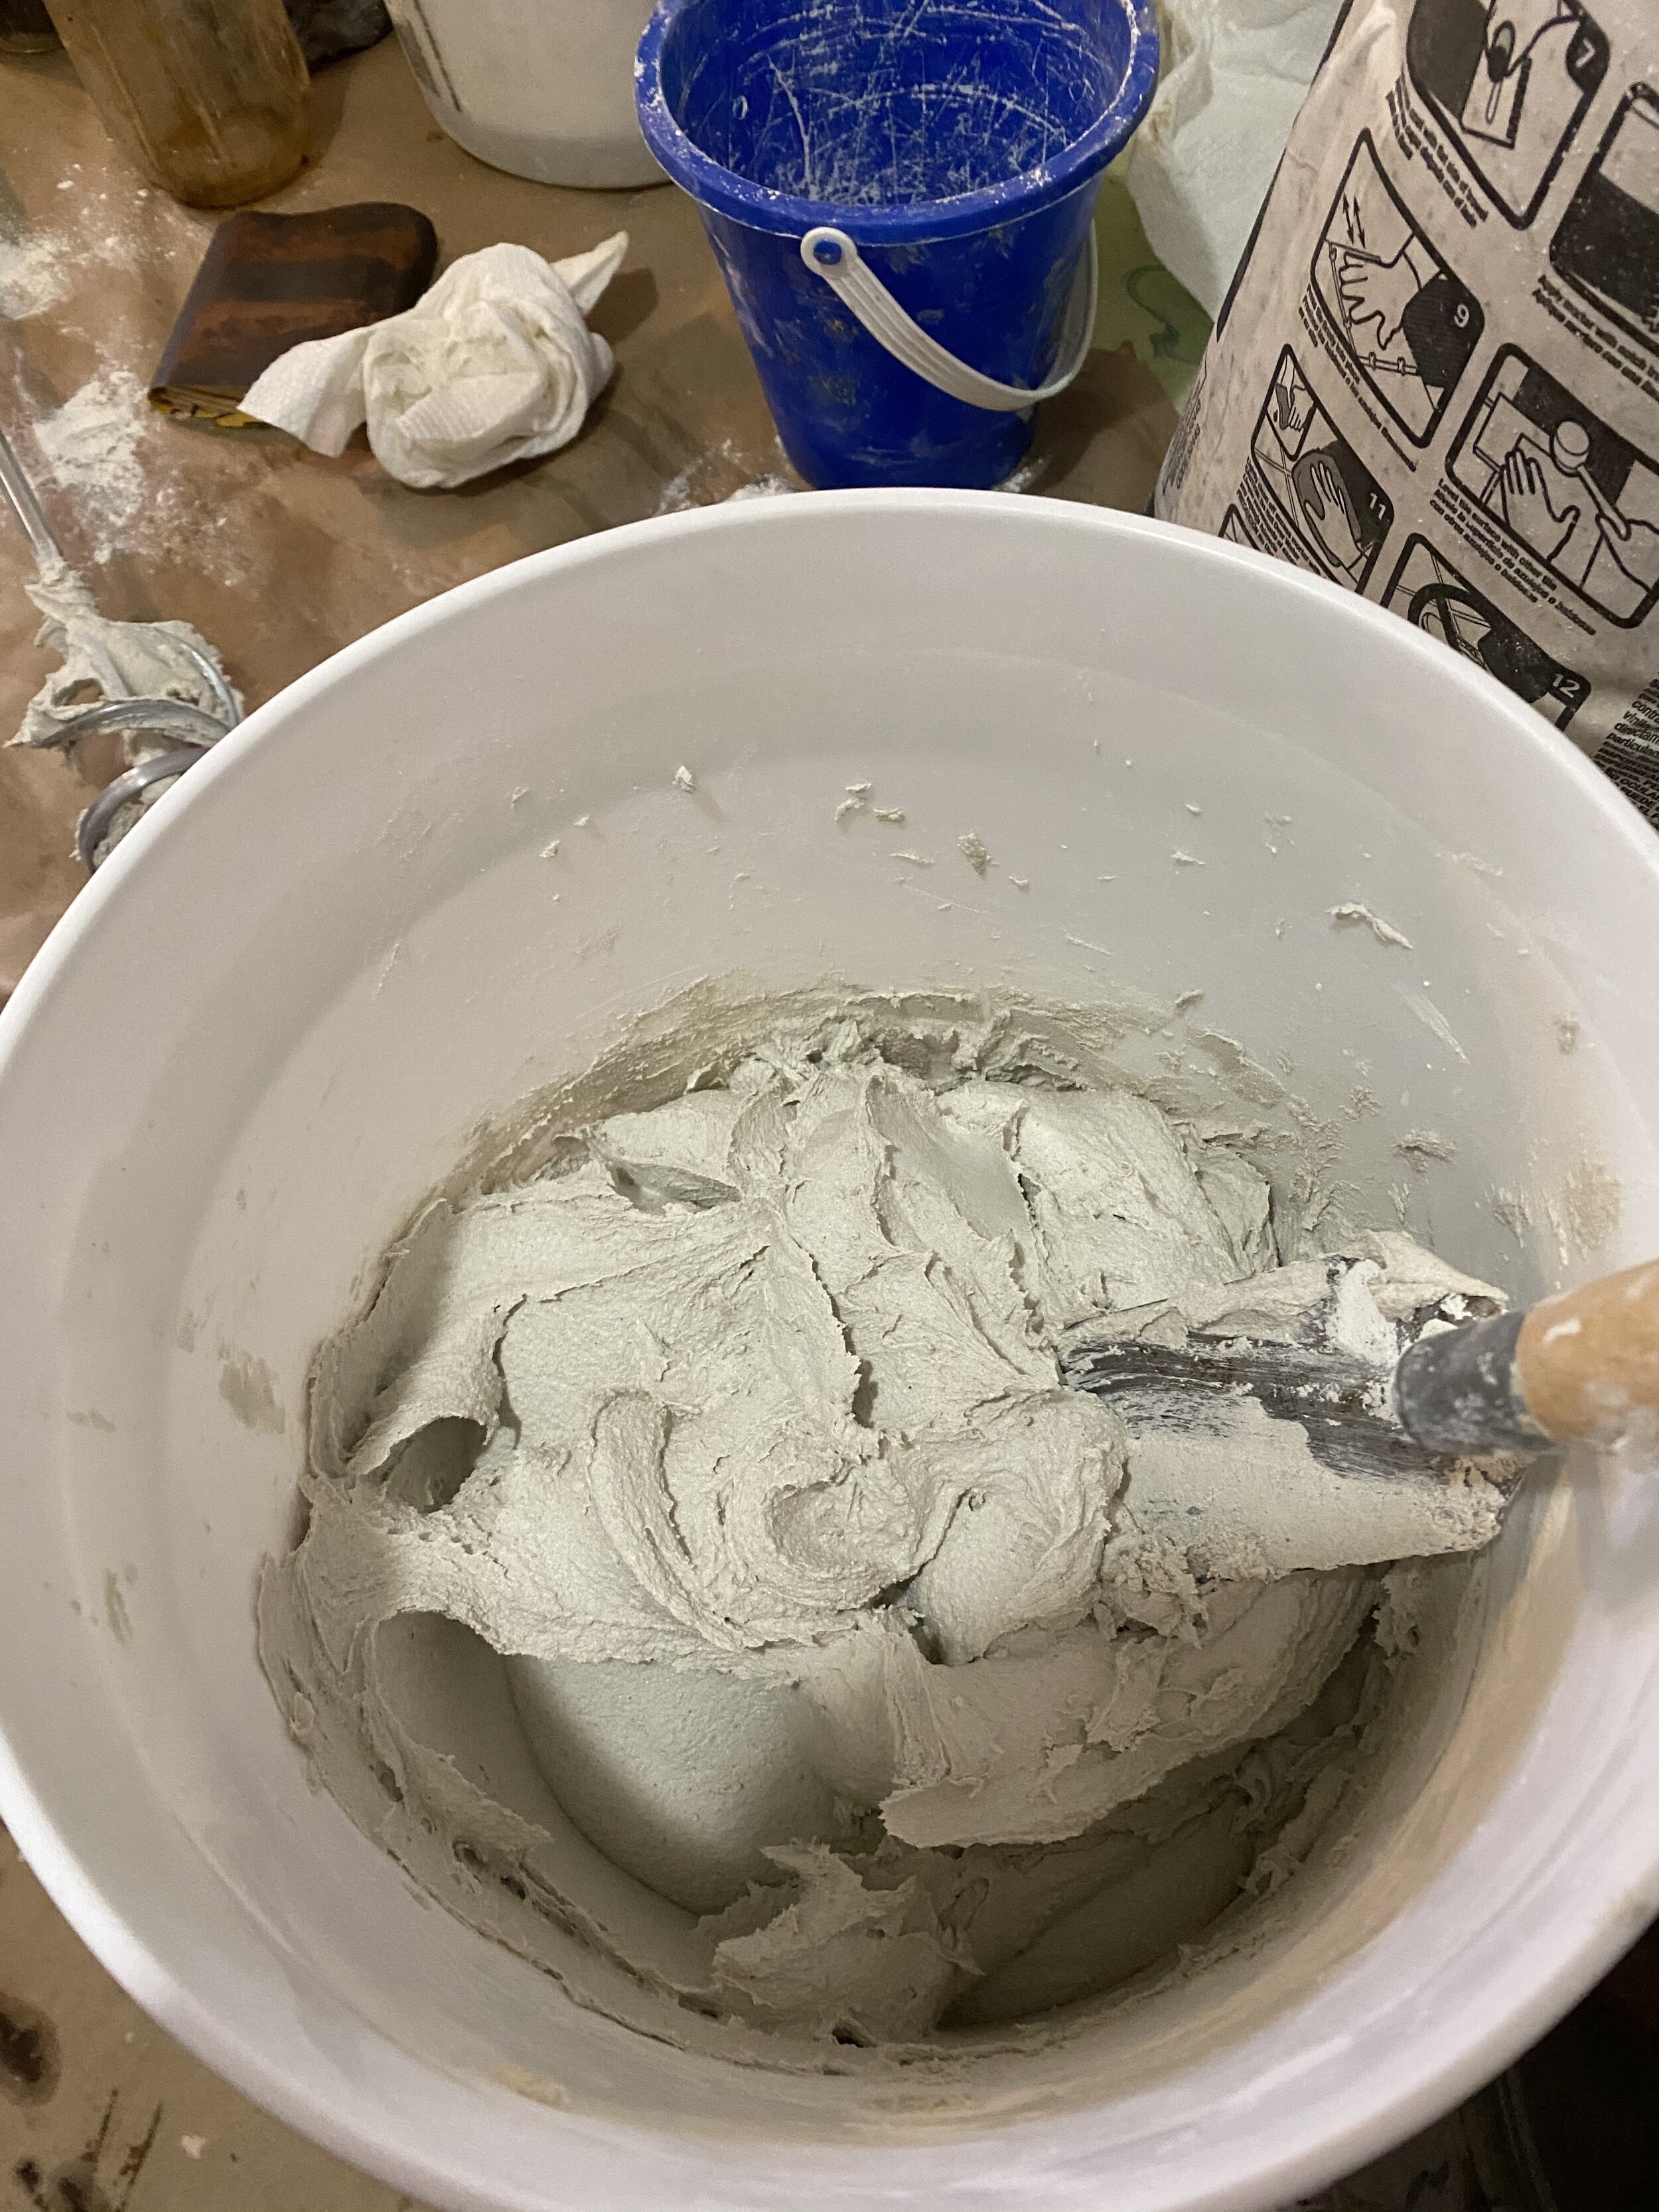
Mixing up thinset.
I get the thinset mixed to the consistency of peanut butter and then use a 3/16” v-notch trowel for applying the thinset. The technique is very tricky because the hex tiles are thin and it’s right on a knive’s edge to go from too little thinset to thinset oozing out of the gaps. Once the thinset oozes out of the gaps it then takes a ton of time to scrape out the overflow.
The oozing thinset is the main timesink and we use a plastic tool to try to clean out as much overflow. The main technical challenge is getting the tiles to stick to the thinset. After I trowel the thinset, we twist and push the sheets into place and then tap down with a grout float and a mallet with a wood block. For the most part the tiles stick down, but then inexplicity there will be batches of tile where the thinset doesn’t adhere to the tiles at all. These require pulling out and then applying more thinset. The problem is that once the sheets get wet, the mesh holding them together melts and dissolves so you don’t have much time to fuss around with adjusting tiles.
It takes us about 14 hours to lay all of the tiles. At the end of the run, the border gets a little sloppy due to fatique, but I think for the most part we get things laid out pretty decently. The other major problem is the lippage of the tiles. This was something I could see being an issue during all of the floor work. I was hoping the cement leveler would fix things, but it still wasn’t dead flat. Then the RedGard along with the thinset didn’t help even out variations in the floor. I now understand why reading about tiling it said you must get the floor completely flat before tiling although I’m not sure what else I could have done besides ripping out the entire floor and replacing with cementboard. Also I see why people hate working with small mosaic tiles as they show all imperfections and are very hard to get aligned. So for taking on our first tiling job with maybe the most difficult tiles to lay down, I think we did OK.
Tile laid down. A few tiles popped out that I’ll need to replace next weekend. I’m using a fisheye lens so the bottom border is not as bowed as the picture suggests.
After waiting overnight, the next day I scrape out some more thinset that was messing with the grout lines. As I’m scraping there are about 4 tiles that popped out so I’m hoping that was the worst of it. Next weekend I’ll do 1 final scraping, mix up some thinset to reset those missing tiles and then grout things.


