

Starting Wallpaper

Returning this week I give the floor a final wipe down to remove any of the last grout haze. There is still some discoloration from using Miracle Sealants and I’m trying to get a response from Rustoleum as to any solutions, but no response yet. I cover the floor with RamBoard and then move to stain more of the woodwork before starting on lining paper. I give the woodwork a final washing with denatured alcohol and then linseed oil soap. Then I apply a 1.5 lb cut coat of shellac. After that dries I put on the coat of the custom stain I used on the other woodwork in the bathroom.

Applying stain.
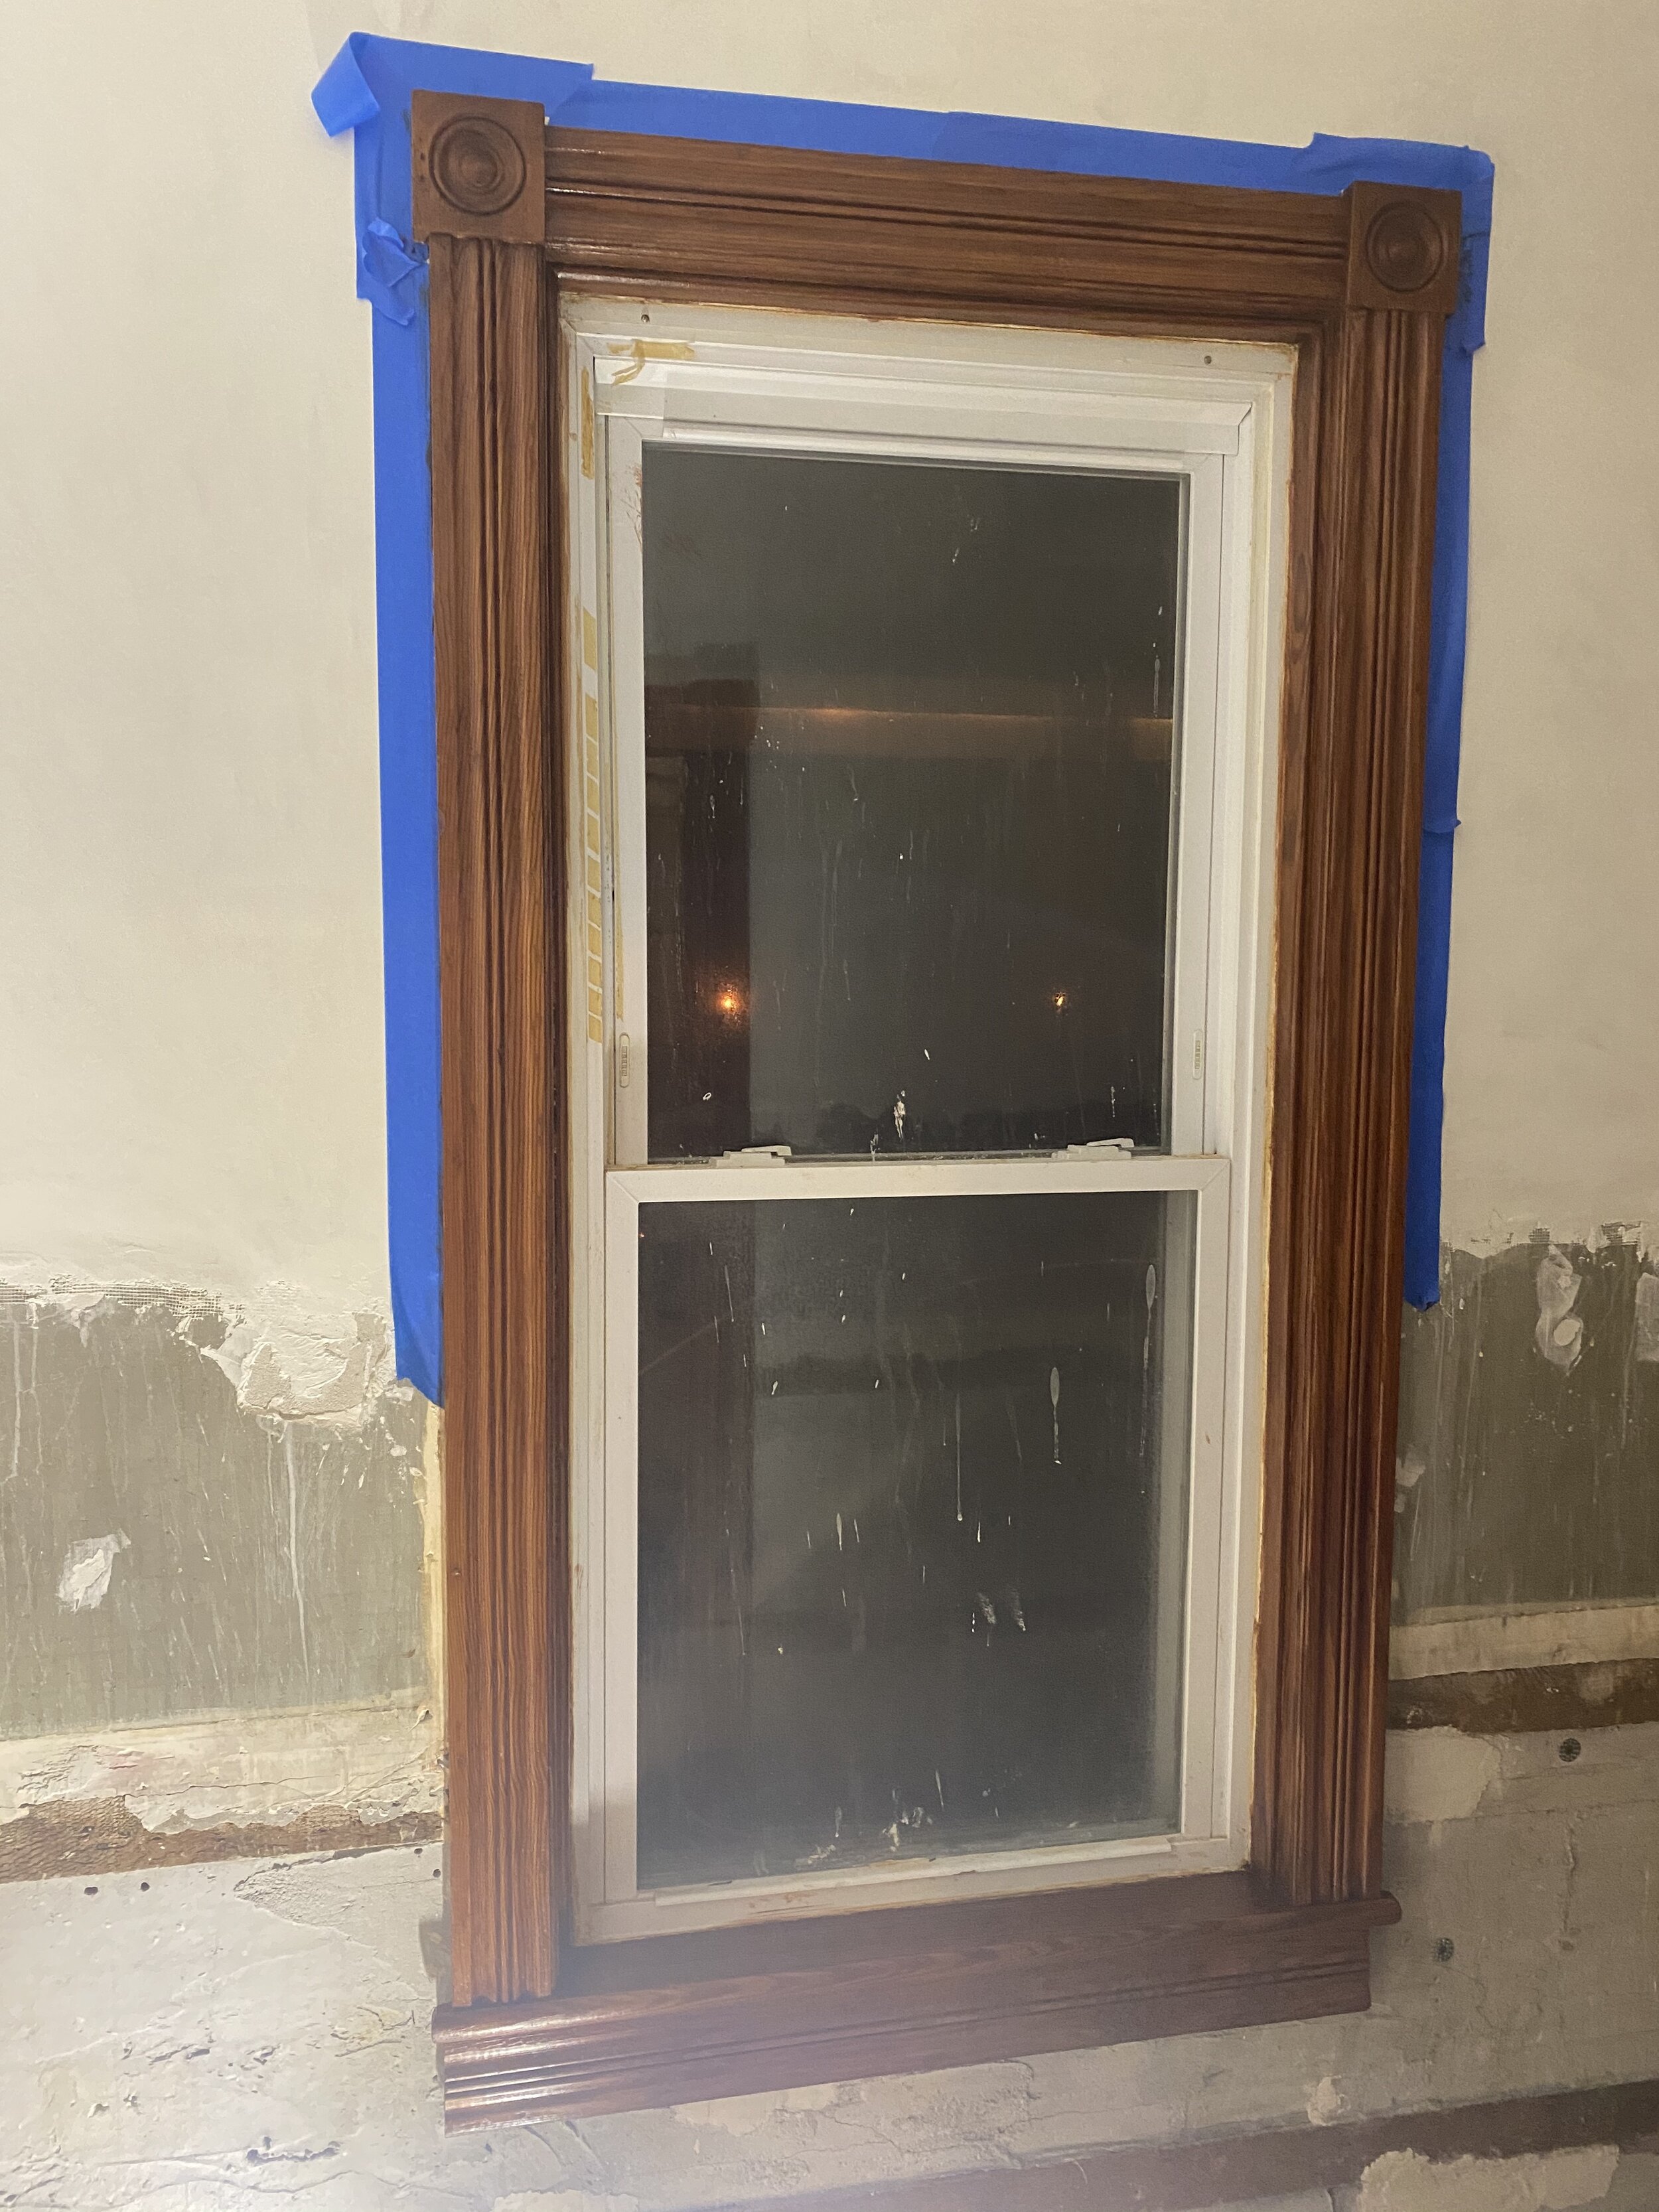
Stained.
As the stain dries, I mix up a batch of wheat wallpaper paste to size the plaster walls. I’m going with wheat paste because it’s the traditional and natural choice as opposed to modern adhesives with acrylics. The wallpaper process will be a 4 step one to get to the final cover. First I will apply a diluted mix of wallpaper paste on the walls. This step is called “sizing” the walls. It’s what was used on plaster walls and is basically a primer. In fact if I had drywall, in that case I’d be using a primer/sealer. Once the sizing dries, then lining paper will go down. This is an underlayment that the wallpaper will sit on and help smooth out any imperfections. After the lining paper, I apply another coat of diluted wallpaper paste to size the lining paper. Then the last layer is the wallpaper.
The sizing is mixed by hand and it’s relatively easy to apply this watery mixture on the walls.

Mixing the wallpaper paste for sizing.
While the sizing dries, I put on a coat of green paint on the clawfoot tub. The green is mixed from linseed oil paints. The color is intended to go with the green in the wallpaper.

Starting to paint the tub.

First coat of green. May go darker on the next coat.
With all of the side-tasks done and the sizing dry, on to the main show of hanging lining paper. I watched a bunch of YouTube videos and read some books on wallpapering and of course they all make it look easy. But now getting my hands on the paper, I quickly learn of the issues with installation. First problem I have is not cleaning the area enough and I keep getting little pieces of dirt and streaks of brown stain on the paper. Once I get things cleaned up, I cut some roughly sized pieces of lining paper. Traditionally you’re supposed to hang lining paper horizontally, but because that is more difficult than vertical and I want to use the lining as practice for hanging real paper, I go with vertical. Hopefully it won’t come back to bite me.
I mix up the paste and this time no dilution so it’s the real deal. I apply it to the first sheet and then fold it in half to book the paper and let the paste soak in for about 10 minutes. After that is ready I try to hang it on the wall. Things go bad pretty quick with a ton of creases in the paper. I was scared of air bubbles, but these are massive creases and ridges in the paper. I keep trying to take it off, but I think what happened was I didn’t fold the paper into smaller chunks and tried to place the entire sheet on at once. Once the entire sheet is on, it’s hard to manipulate and smooth out. This sheet is a lost cause so I rip it off and regroup.
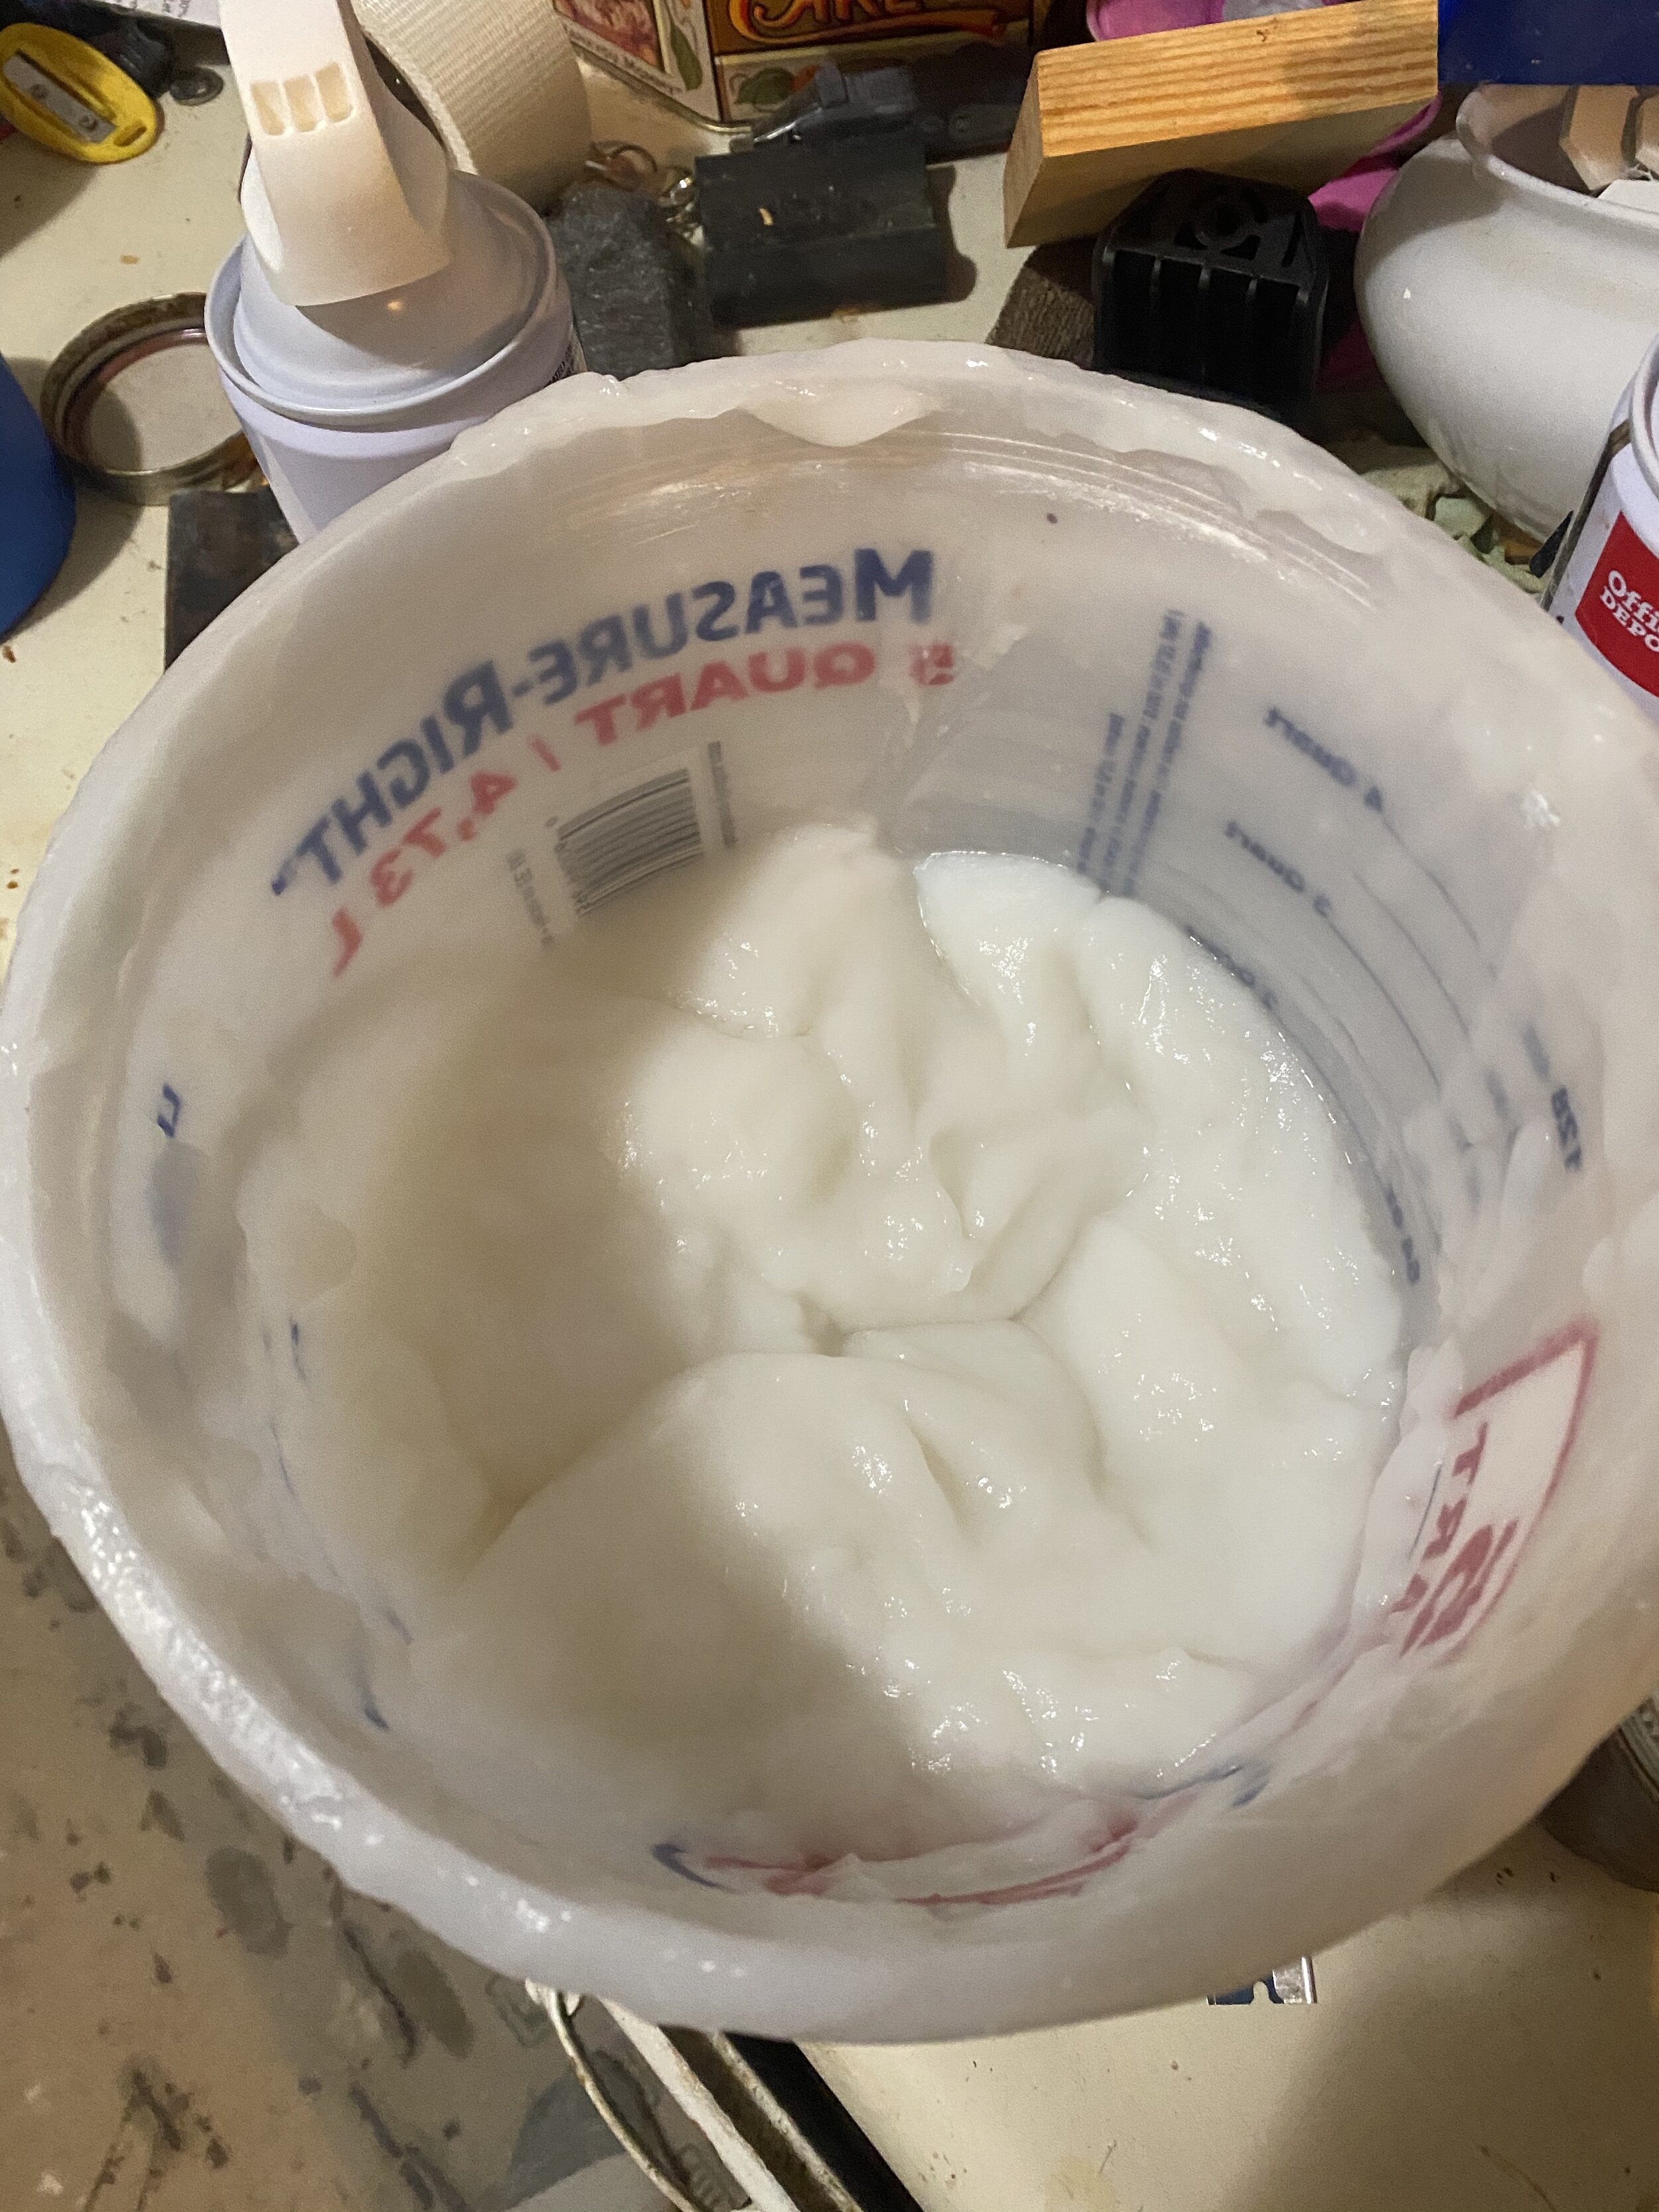
That better be wallpaper paste!
I re-read some steps on wallpaper and it seems that the better option is to fold the paper into smaller chunks. You then attach one piece, secure it and smooth it, and then unfold the next one. This seems more manageable to work with so I go with this technique. It definitely works better and I’m able to get a sheet on the wall relatively smoothly. I wasn’t able to get it as straight as the laser level I put down, but I’m hoping since this is lining paper, that won’t be a huge deal.

First sheet up.
I try to move to the wall that is broken up with a window. This installation doesn’t go as well. I have a lot of issues trying to manipulate the paper while also trying to cut out parts for the window. I feel that I need to precut the paper better to get rid of some of the un-needed paper because the weight of the unused paper starts ripping the wallpaper as I cut out sections for the window. I give up on this and go back to an easier section of the wall. I revisit the first part of the wall and this time use the smaller folded chunk apporach and this time I’m able to get the paper on smoothly.

Revisiting the first part of the wall. This time success.
It’s getting late and I don’t want to rush so I throw in the towel with 4 attempts and 2 successes.


