

Painting and Finishing
First up for this weekend is a second coat of standard Waterlox on the woodwork. I don’t sand in between coats but do a wipedown with a tack cloth before rubbing the second coat on using t-shirt fabric. After the second coat the woodwork is almost done with the third matte coat going to be the last one. I let this coat dry for 24 hours and move on to other stuff.
Second coat of Waterlox.

Second coat is still a bit shiny.

Drying before the final matte coat.
While the Waterlox dries, back to the doors where there’s always more work to do. The closet door has a good coat of stain on it so it’s ready for shellac. I apply two coats using a brush and then the third coat using a pad. Of course with the brush coats, I leave some ridges from shellac drying so quickly so I need to rub those out with the pad coat. Here’s where I start chasing my tail trying to remove the shellac imperfections.

Stain is about where I want it to be compared to the other bedroom’s door.

Double checking the stain is dark enough before starting shellac.

Shellacking the closet door.
The main door still needs another coat of stain so for this I apply to both sides and let sit for a few minutes before wiping off. I don’t know if its the natural stain I’m using, but on the door, it does that weird sweating I’ve experienced where I need to keep wiping the stain down to get a smooth surface. I’ll need to let the door dry and then will buff out the little beads next weekend before shellacking.

Applying the stain.

Drenched in stain before wiping off.

After wiping the stain off.

The doors drying.
While I bounce back and forth with the doors, I start on painting the ceiling with clay paint. The clay paint is all natural and provides a breathable coating for the lime plaster. It does a good job of hiding any of the little imperfections from the washers and my poor plastering technique. I only have enough paint for one coat and near the end I have to mix in some water to stretch what I have to finish the ceiling.

Plastered ceiling with no paint.

Ceiling looks OK, but can see streaks and smudges from trowling.

Clay paint being applied.
I’m also able to meet up with Jim Hyde to discuss refinishing of the two bedroom floors. He brings some stain samples and I end up picking the lighter of the two colors: Early American. When he looks at the floor he points out a cut board and guesses that he sees that usually when they add electricity. Sure enough, peeling back the board reveals an electrical wire running across the floor joists. My guess is since they added this after the floor was done, the house must have been built without electricity. I run a tester over the wire and it shows no current so this wire was from a previous generation. Makes sense since there is some defunct knob and tube wiring in the house.

Checking stain samples.

Seems like the Early American is closest to the original color.

Jim spotted this as soon as he walked in.

Close up of the cut floor joists to hold the electrical wire.
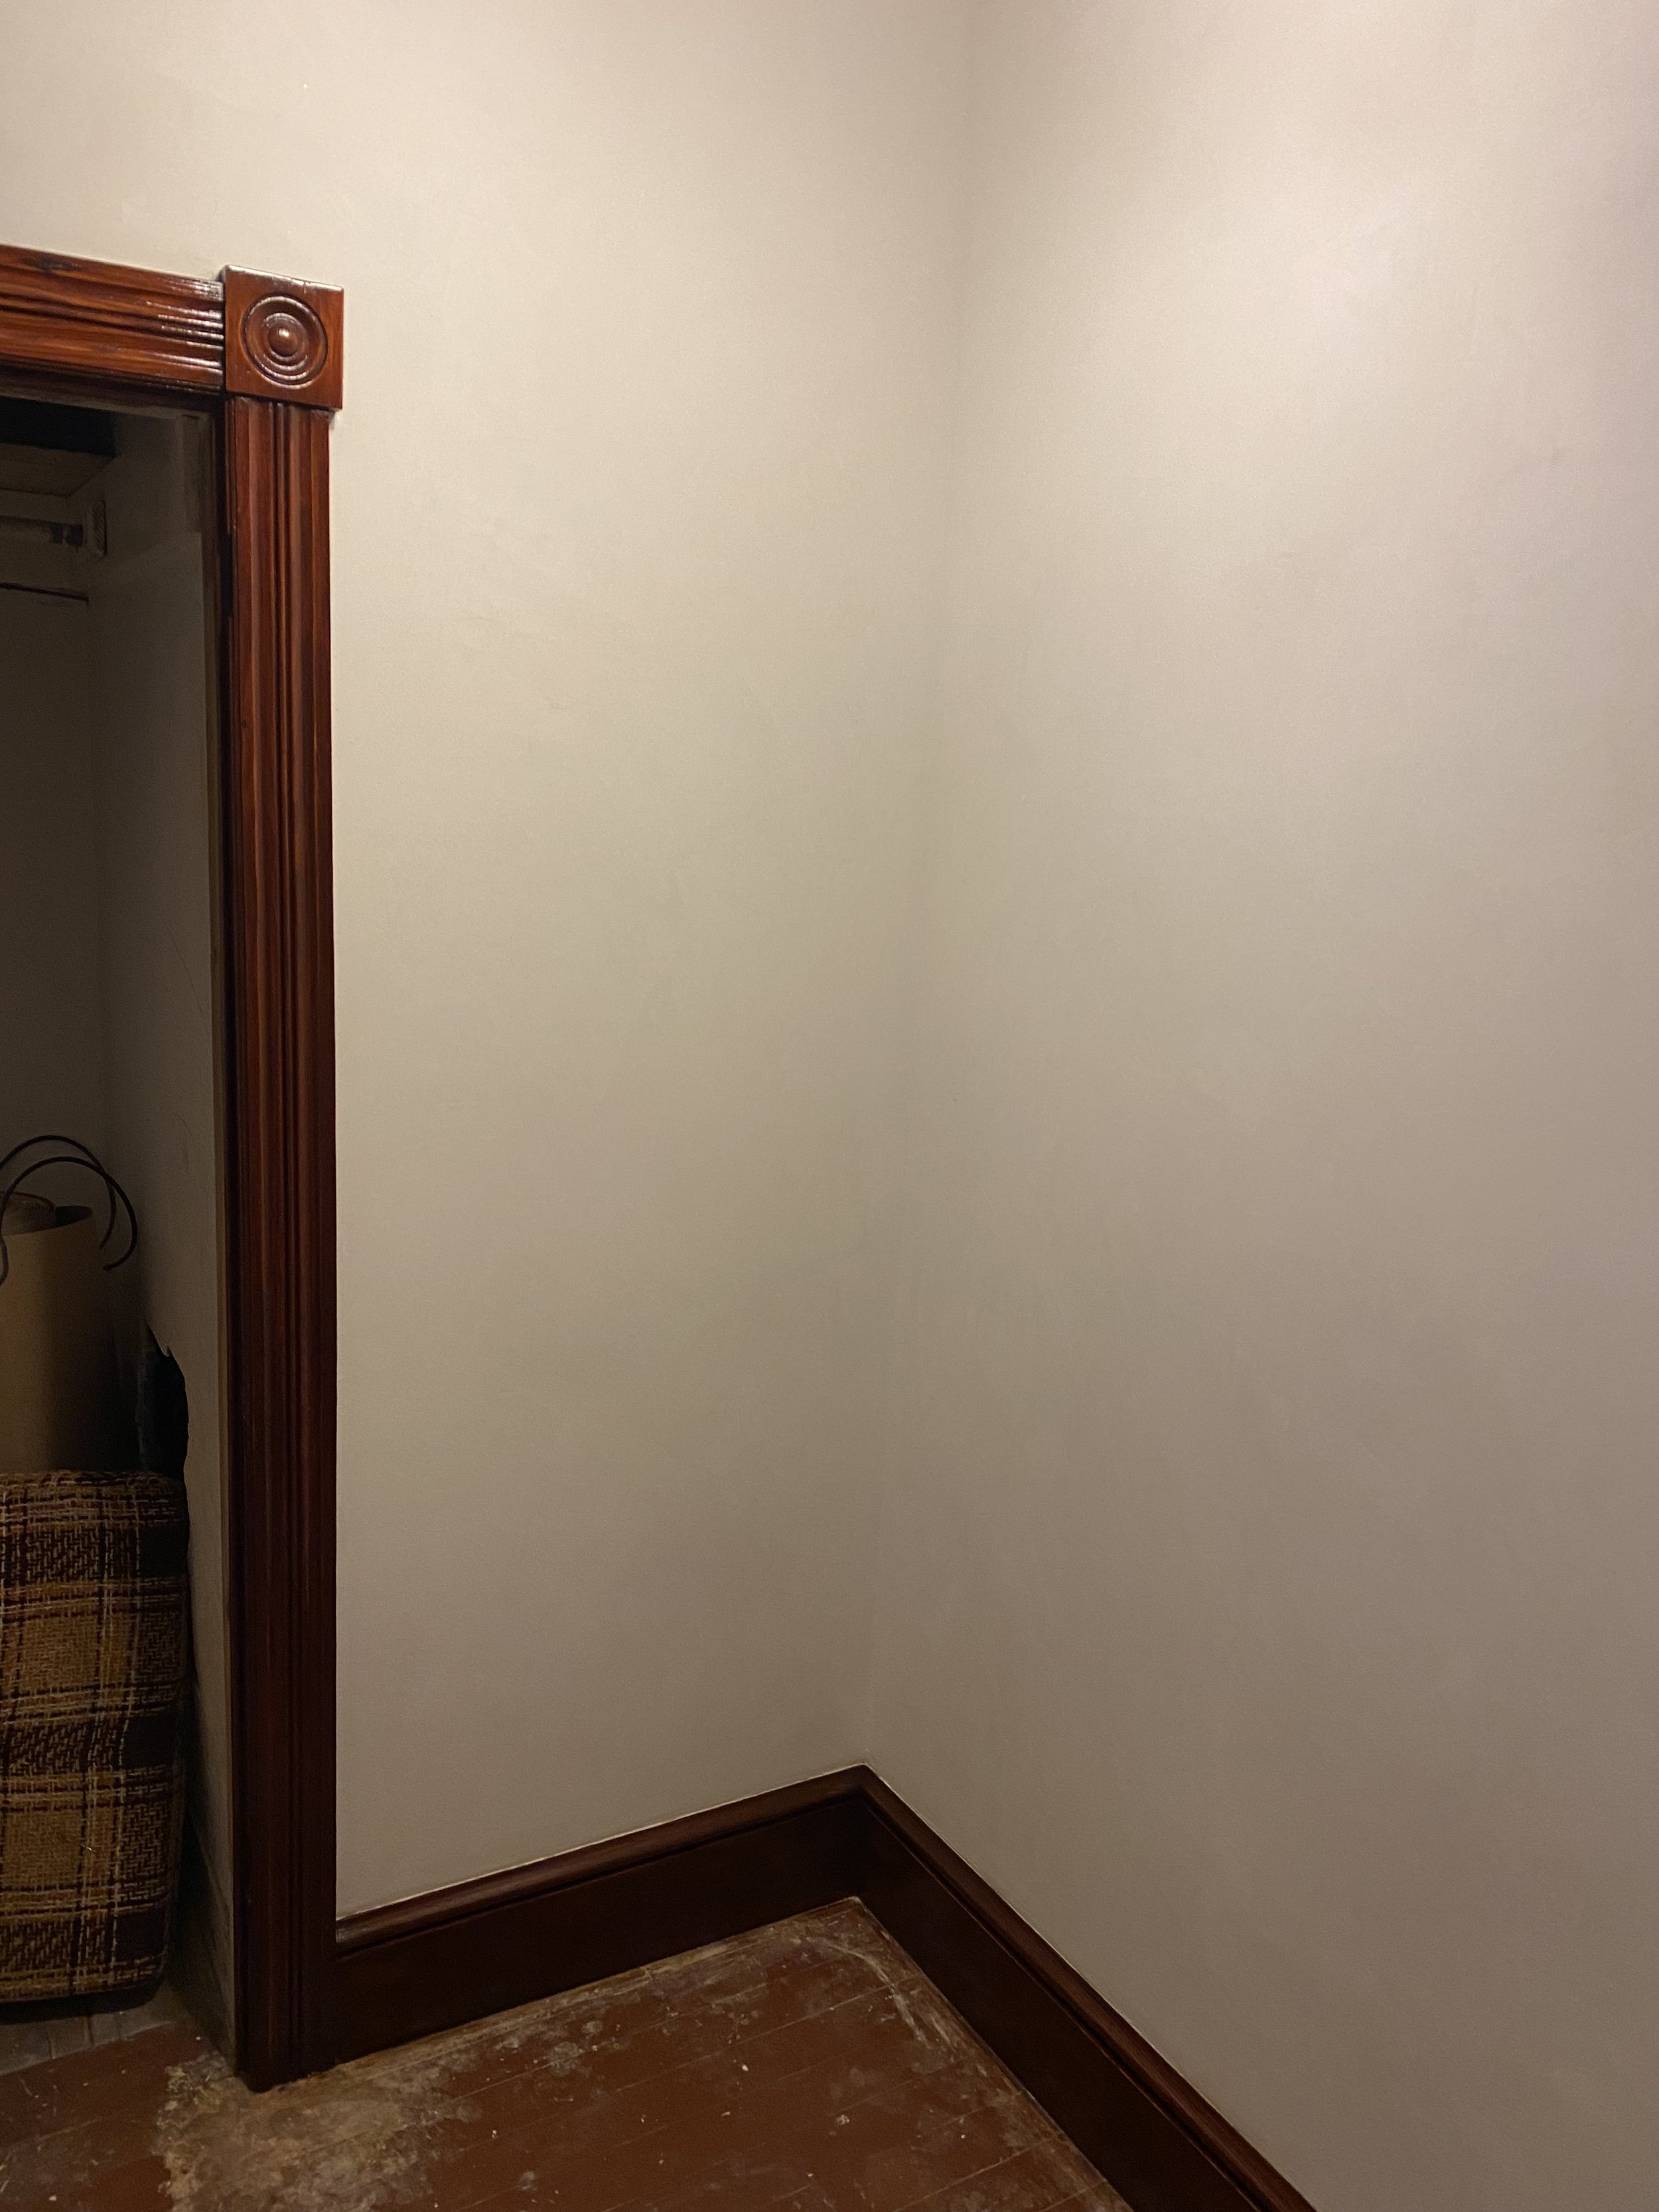
After the Waterlox is all dried, time for the last coat using the matte finish. Before applying this coat, I do a final check to remove any imperfections in the finish such as flecks of white plaster. It’s tough doing the refinishing along with the plaster and stripping work with all of the dust/debris.

Matte finish on woodwork and clay paint on ceiling.

Now just time for doors and floors.

Matte finish.
After finishing the bathroom, I noticed the iron sconces starting to rust. It’s getting pretty bad so I take some time to remove the rust and see if I can protect the metal. I use some of the Rustoleum rust removing jelly to dissolve the rust and then scrape away with a wire brush and steel wool. It’s really hard getting all the rust off because of the intricate details on the sconces, but I try my best. Also even with removing the rust there is some discoloration. I’m not going to mess around with dying the metal so once I get the rust off and washed down, I just go straight to two coats of BLO to hopefully protect against future rust. The effects of the coastal climate are definitely real with everything rusting or staying damp.

Rusting metal.

Oiled metal with some discoloration from removing the rust.
Last up is starting demolition on the 3rd room upstairs. First up is removing the popcorn. This is the same popcorn that was in the first bedroom and the upstairs landing so I already had that checked for asbestos. I use a spray bottle to moisten up the popcorn and it starts coming off easily with a scraper. Under the popcorn is not calcimine paint but instead a traditional paint. This is unlike any of the other rooms so I do a lead test to check if this is lead paint but it comes up negative. I get about 70% of the popcorn scraped off before wrapping up.

Fresh popcorn.

Popcorn.

Scraping off the popcorn.

Popcorn is off, but the layer of paint is still mostly intact.


