

Limewash
Now that the ceiling is done, I moved on to painting the walls. After replastering part of the room, it felt like an anti-climatic move to slop latex paint over the walls. One of the main draws of plaster is the surface is not perfectly uniform like sheetrock and also plaster is an environmentally friendly substance with no VOCs. Latex paint is like coating with rubber. The goal is a uniform surface and since I wanted something more complex I started reading up on pre-latex paints. I first looked at milk paint for the walls. I reached out to the people at http://milkpaint.com who were really helpful and sent me a free sample. I like the idea of milk paint because it’s all natural and gives a mottled look, but after reading up on how it works with different surfaces, it seemed like it may be trouble for my room. It seemed like milkpaint is not good with existing latex paint and horsehair plaster because as it dries it pulls on the surface. Since I had both horsehair plaste rand latex, I deiced to take a pass on using milk paint for this room, but definitely still interested in incorporating it somewhere.

One of the brands I went with for limewash.
I then looked into another pre-latex paint called limewash. This is an ancient style of paint that is very compatible with plaster due to being made from lime. It’s a breathable paint which is good because plaster is constantly curing and giving off oxygen. The only issue with limewash is that it doesn’t work over latex paint, but it seemed like you could put down a primer to give the limewash something to adhere to.
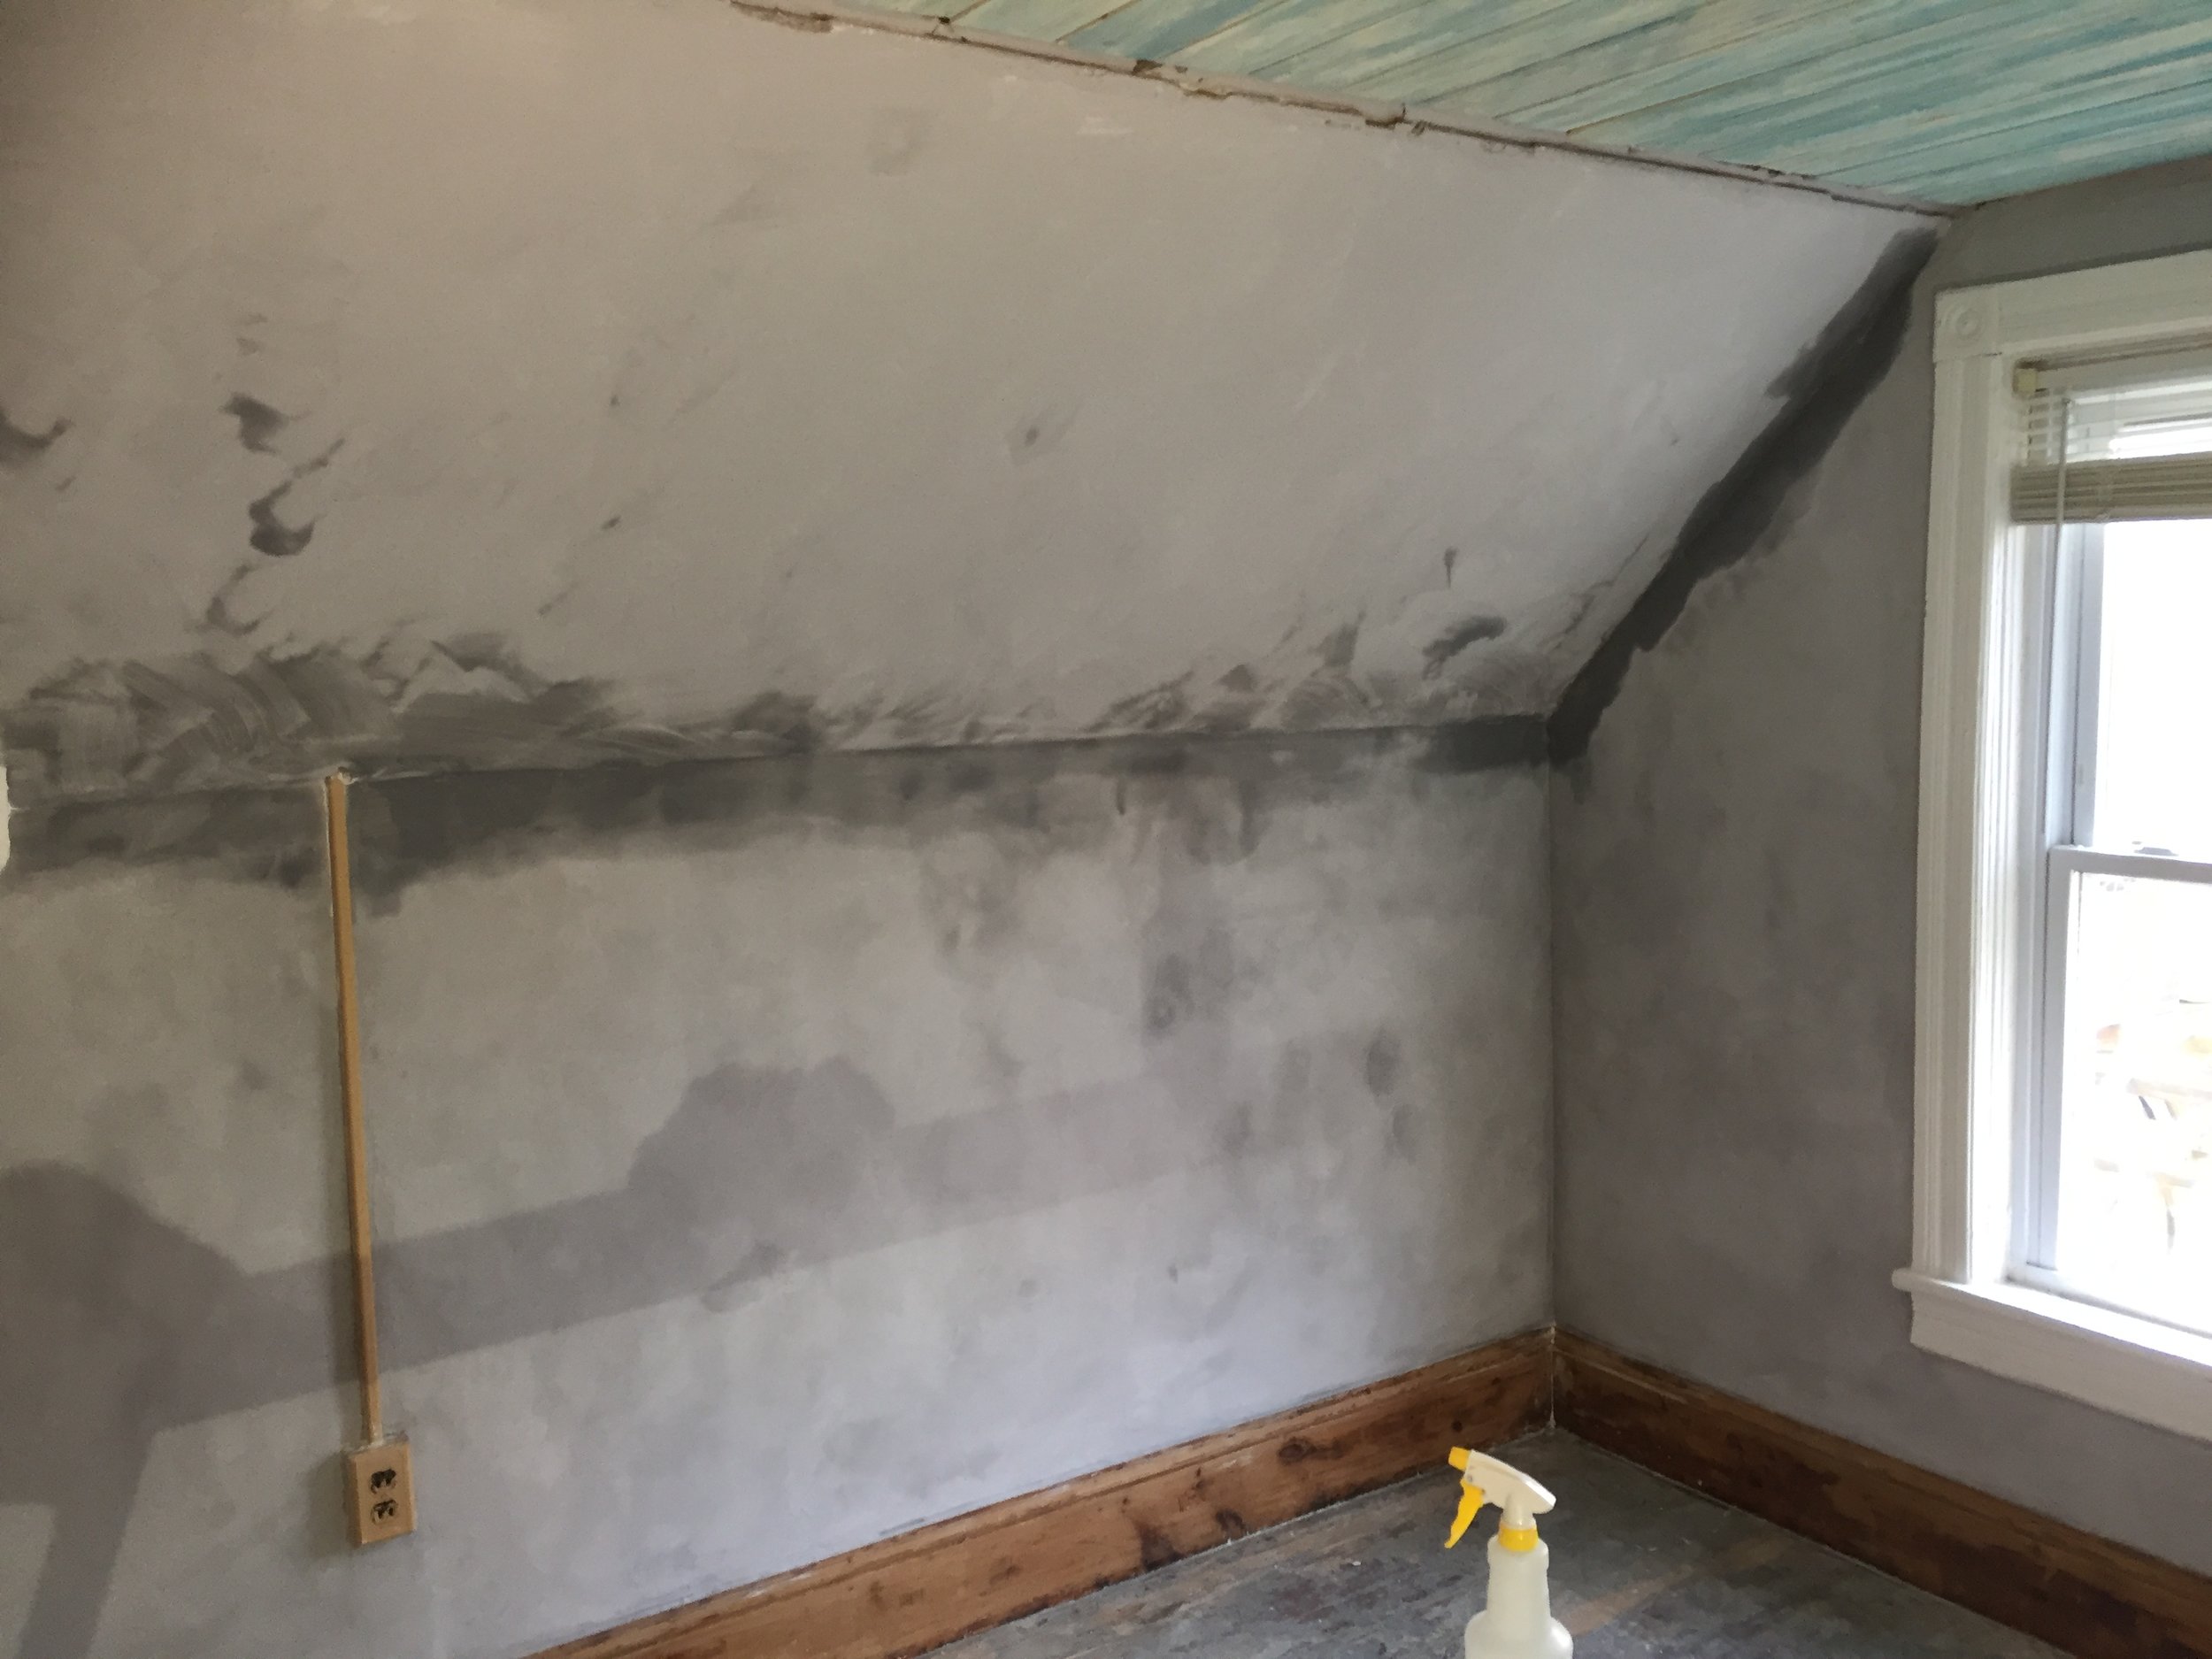
I ordered the limewash and primer along with a large brush recommended for applying. I taped up a few of the joints where the plaster meets the existing drywall and put on some joint compound. This takes a few days because each coat requires 24 hours to dry. After that is done drying, I start priming the room. I put on 2 coats of 100% acrylic primer. That goes on with no issues and I leave the plaster unprimed. So more or less, I now have a white base for the limewash to go over bare plaster or primed latex paint.

New plaster + primer over old latex covered plaster.
For the limewash it requires 2 coats and needs to be brushed on preferably in patterns. Working with the large 5” brush I bought specifically for limewash, my wrist quickly fatigued from the work. I get 1 coat on and it’s definitely a mottled look. After that dries, the second coat goes on, but this time I swap out for a smaller 4” brush to reduce the strain on my wrists. The 2nd coat smooths out some of the mottling and it kind of looks like a stone surface with the different levels of color.
It’s hard to see if the pure plaster vs. primed latex paint parts blend because it takes a while to dry and as it dries the color drastically changes. I’m already running late so I have to head out and not watch the paint dry. Looking forward to coming back in a week and seeing if all of the colors smoothed out after drying for a few days.
The limewash paint goes on really dark and then dries to a lighter color.


