

Limewash coats and hanging the ceiling
Now that the plaster has had a few weeks to cure, I go for 2 coats of limewash. The temperature is very cold this weekend, so I put in a bunch of space heaters in the unheated cottage to hopefully get things up to 50 degrees for the painting. I learned my lesson from last year with limewash where you need to respect the wet edge. Otherwise if you let the edge dry, you will get a seam that is impossible to disguise unless you recoat the entire run. So you need to pick your spots and make sure when you commit to an area, you take it to the next corner otherwise you will get seams.
Last year I had a bunch of seams that I tried to burnish out with water and scrubbing. I finally gave up so this time I think I got the application a bit cleaner. Each coat needs 24 hours to dry so in between coats, we start working on hanging the ceiling.
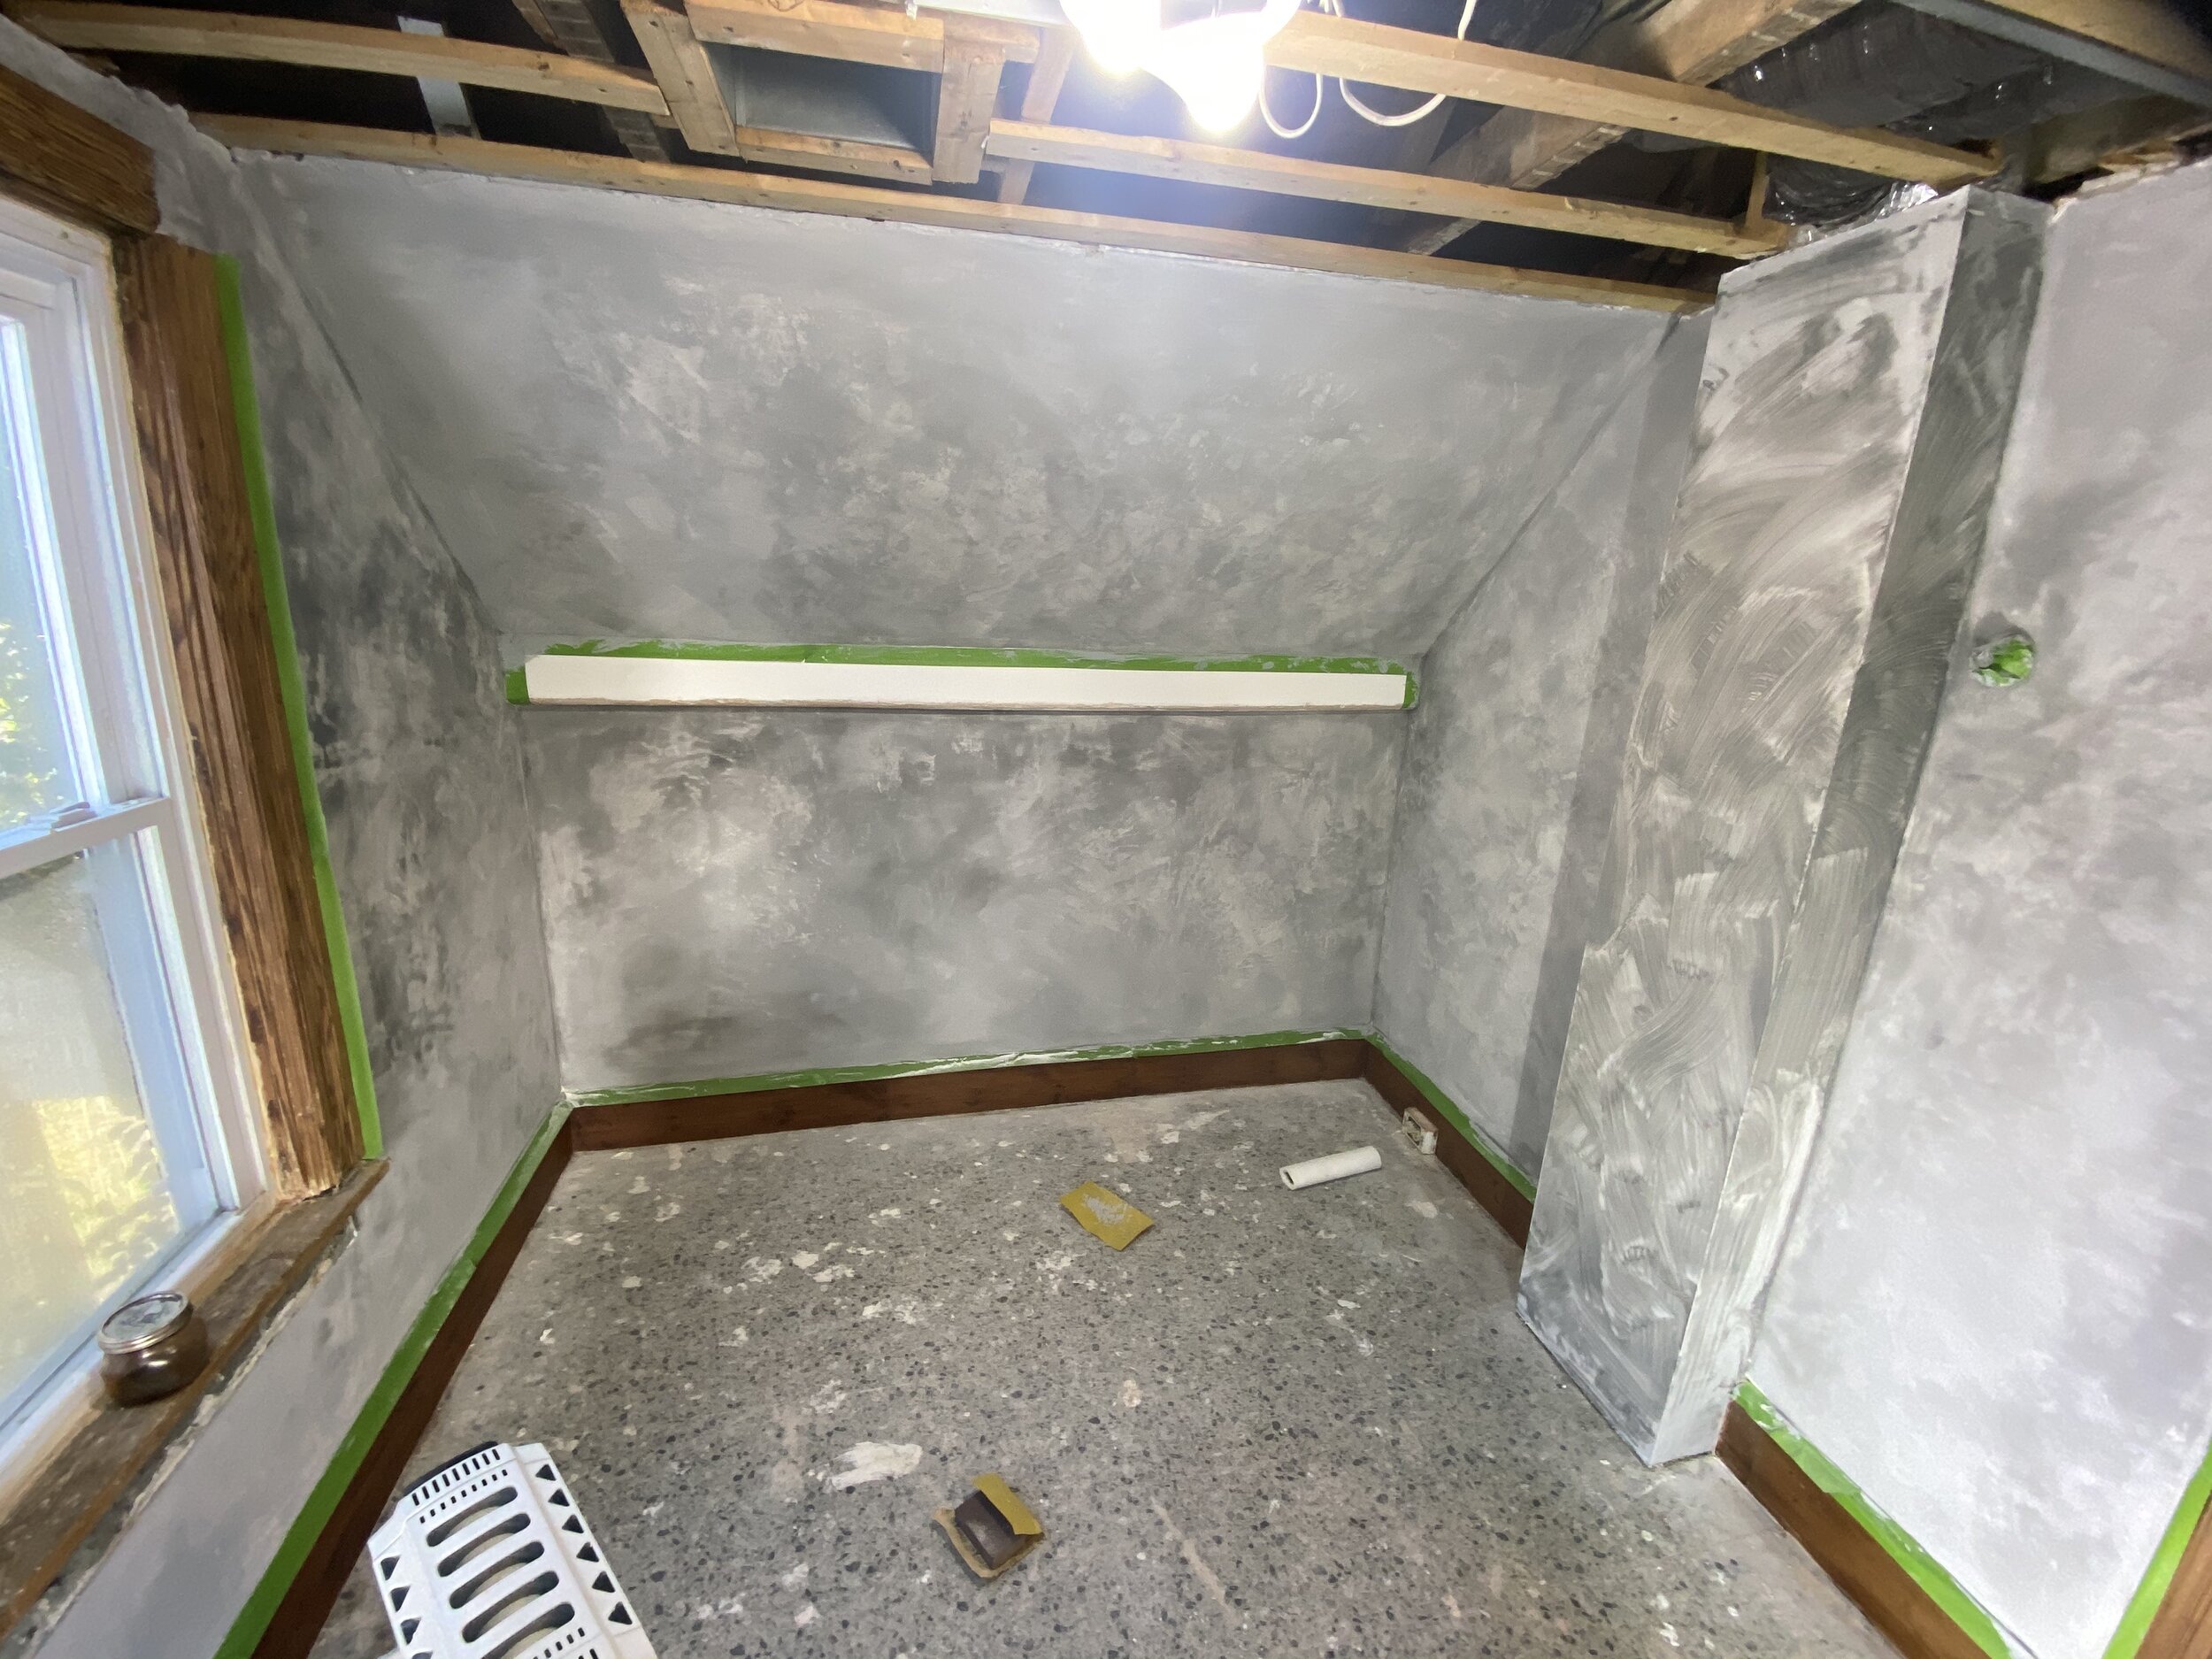
The limewash goes on really dark and blotchy but smooths out as it dries.
Previously we had stained all of the shiplap planks that will go on the ceiling so they are all ready to go. This room will be slightly more complicated in that we have not only a HVAC vent and light fixture to deal with, but also an access panel for the HVAC air handler. I’m not exactly sure how I’ll deal with that, but at the moment I’m thinking of a hinged access panel.

3 eras of work. Planks I’m installing; furring strips done in 1990s which held acoustic tile, and the original 1890s beams.
The first planks go up easily because luckily the ceiling is the exact size of a plank. When we reach the vent and light fixture we have to start cutting to fit which isn’t too terrible. We then take a break to wire in the new light fixture. The box here looks to be in good condition compared to last year when it was an old box that was not even secured to any ceiling joists. But of course working with a box never goes easy and once my spouse gets the light wired up, turns out with the ceiling planks that the stock screws provided are not long enough to reach the light fixture.

Light fixtures are Karen’s arch-nemesis.
We give up on the light fixture and hang a few more planks. We get to the part where we’ll need to build out a hatch so we stop work and will wait till next week.
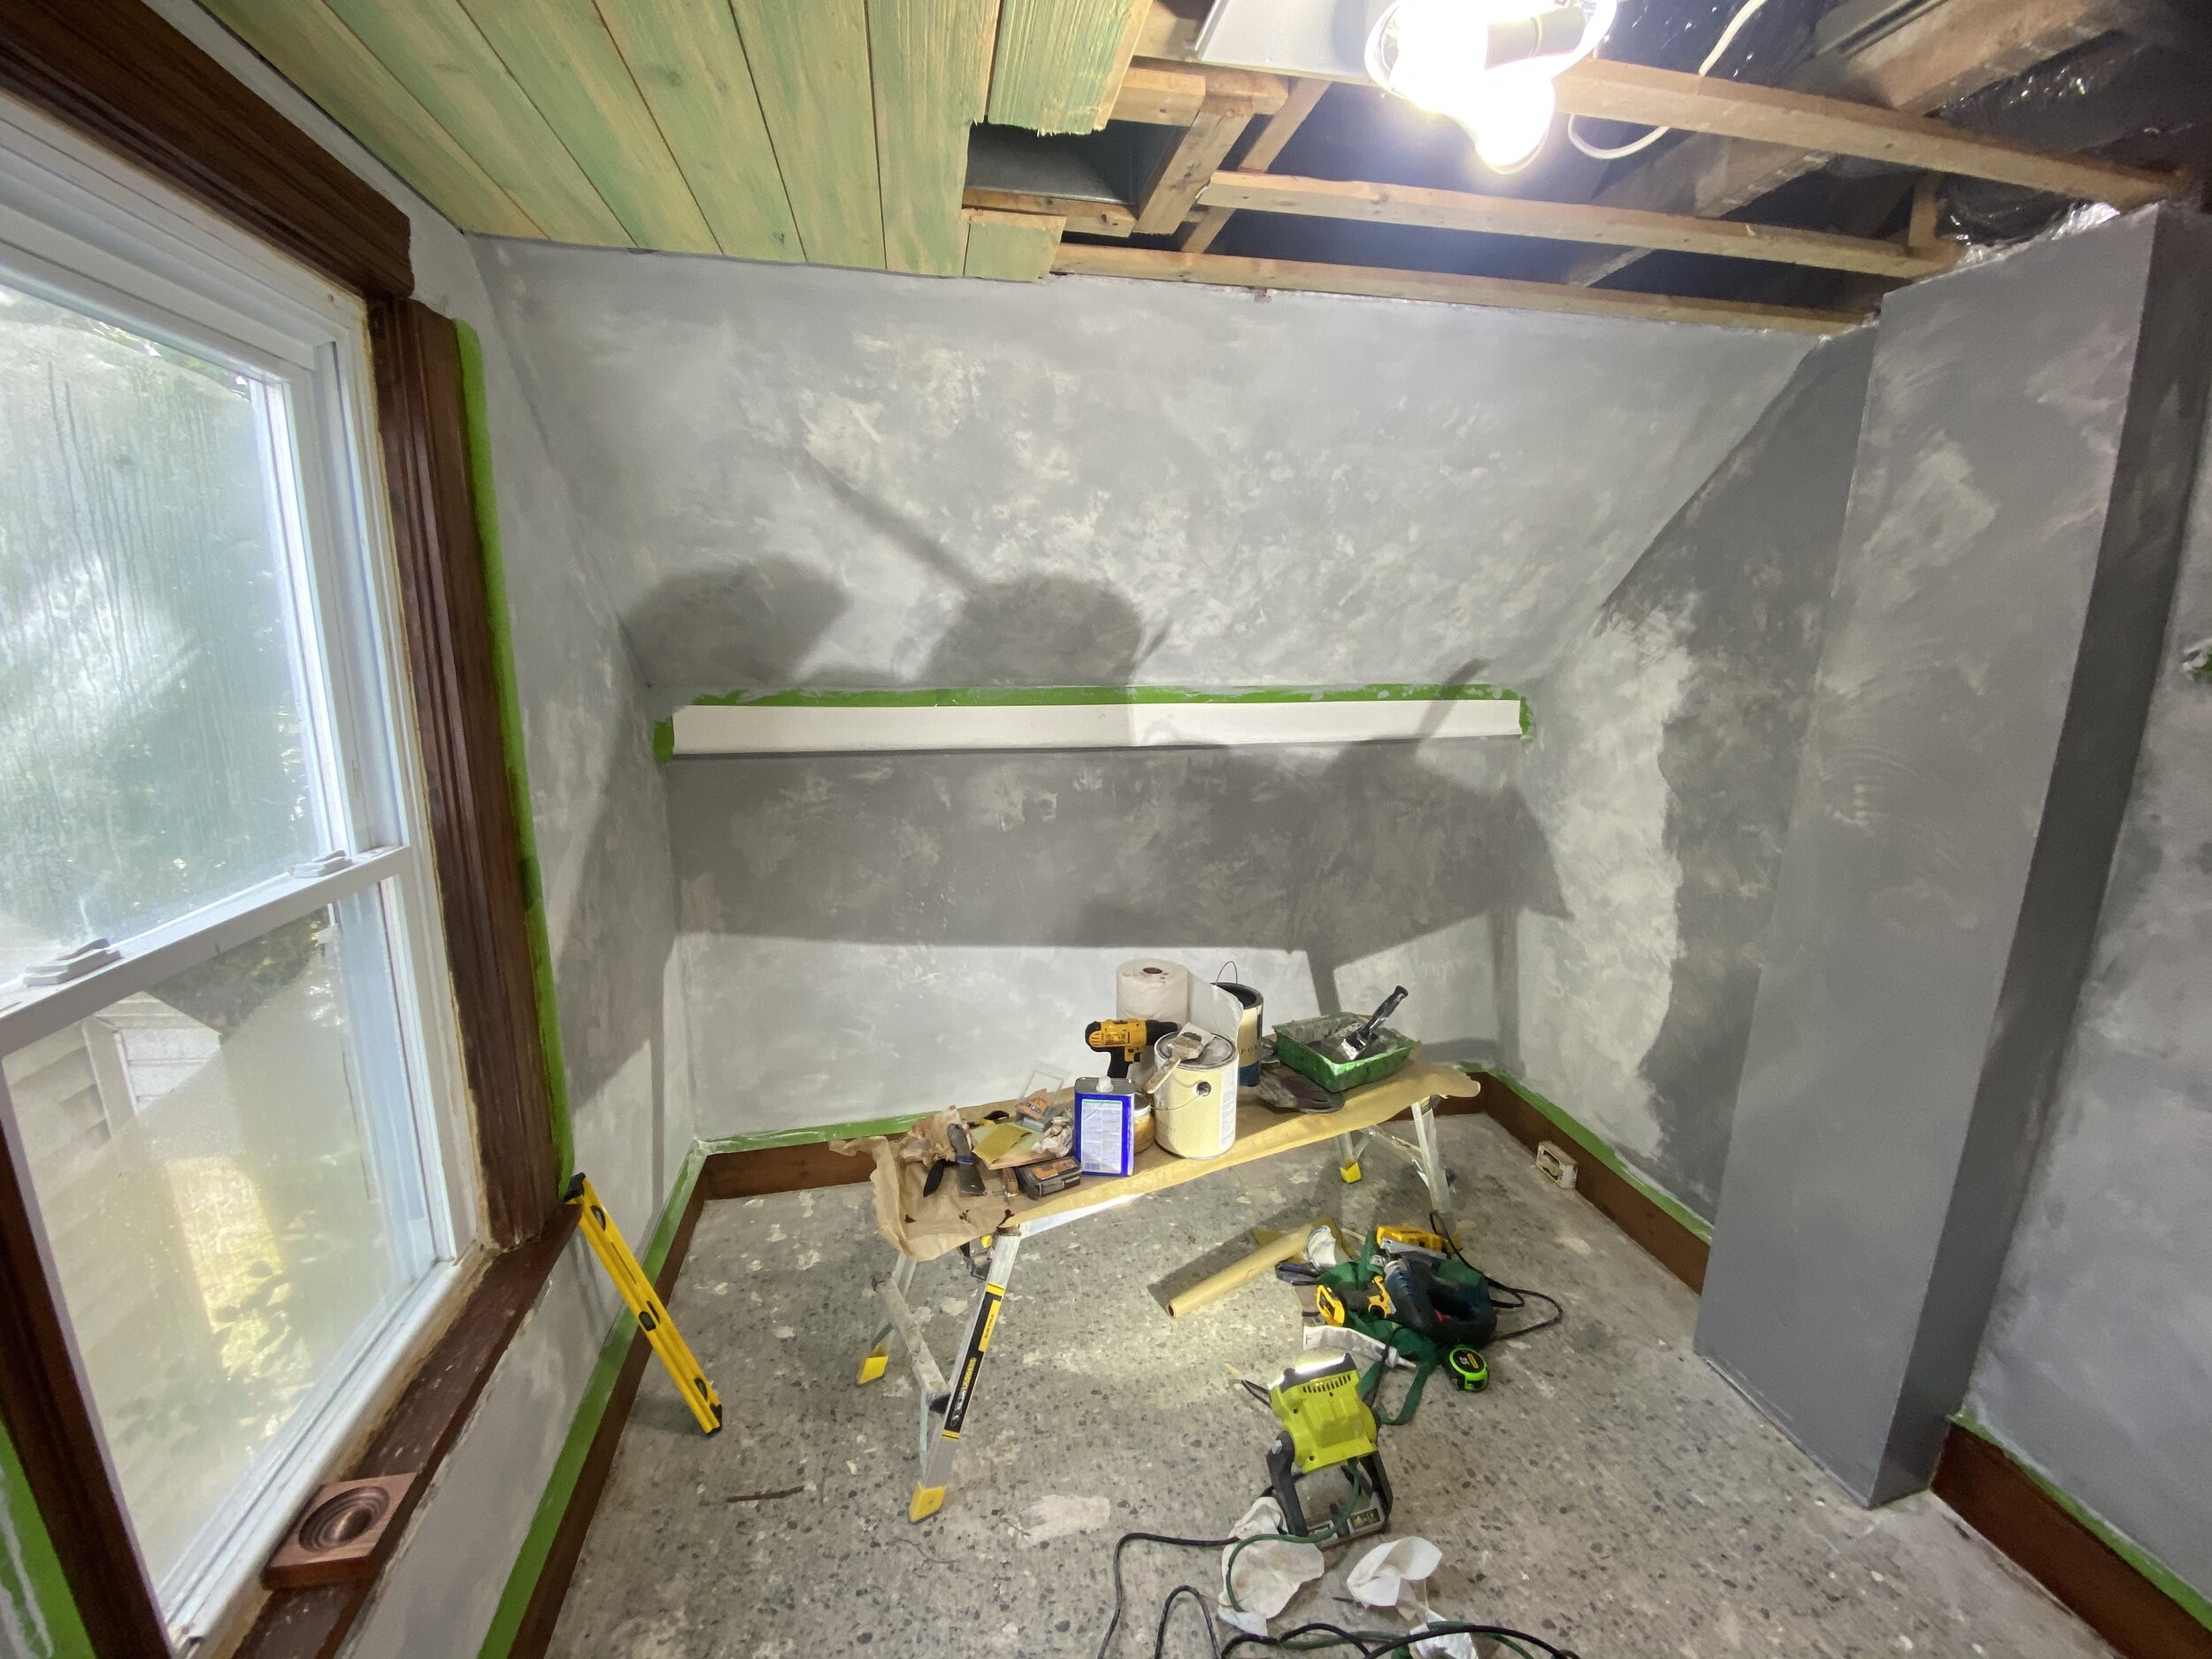
Planks going in with the limewash drying.
While we’re working on finishing up the bedroom, I’m also starting a facelift on the downstairs bathroom. I’ll discuss the bathroom project in a separate post.


